
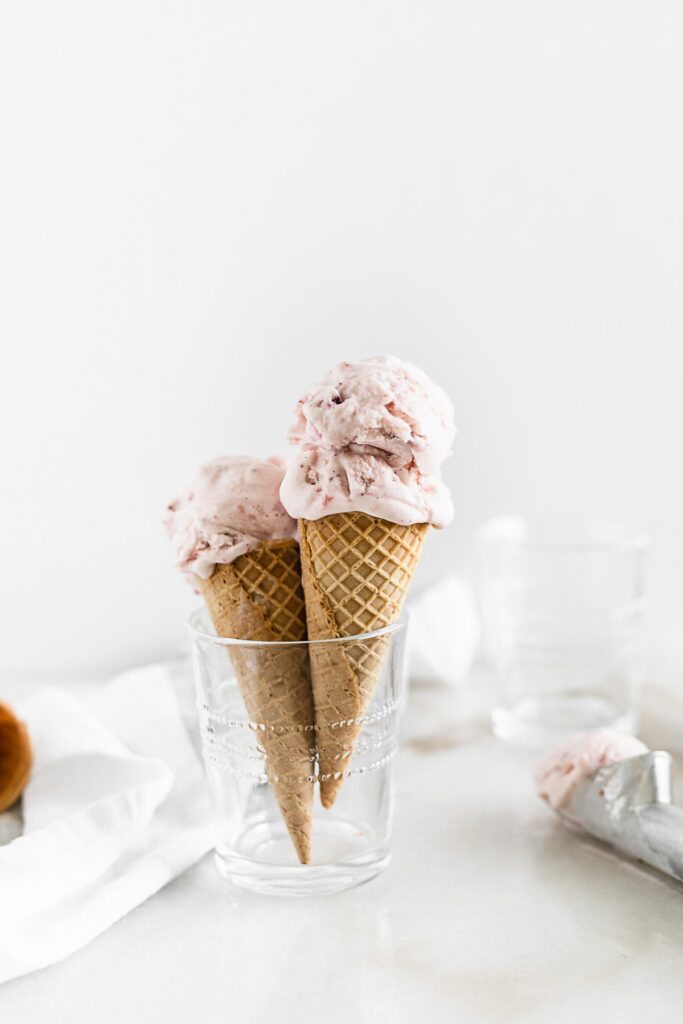
This homemade roasted strawberry ice cream is bursting with sweet, creamy strawberry flavor and it's so easy to make with only 6 simple ingredients and no egg custard base! It's a must-have dessert this summer! (gluten-free)
This post was originally published July 2017 and has been updated.
I scream, you scream, we all scream for ICE CREAM! I can't help but think of my grandpa every time I eat ice cream. He had so many little sayings and songs that he would regularly recite for the family to hear at just the right moment, but this one might have been my favorite as a kid because it always meant there was ice cream involved.
The best ice cream was the homemade kind my mom would make in the summer at our family lake house, churning it in the old-school ice cream maker on the front porch with ice and rock salt while all of the kids would anxiously wait and my dad and grandpa fell asleep to an old John Wayne movie. This homemade roasted strawberry ice cream, elevated with real vanilla beans and roasted strawberries, is a little reminder of my childhood days at the lake and my mom's homemade ice cream.
Why You'll Love This Roasted Strawberry Ice Cream
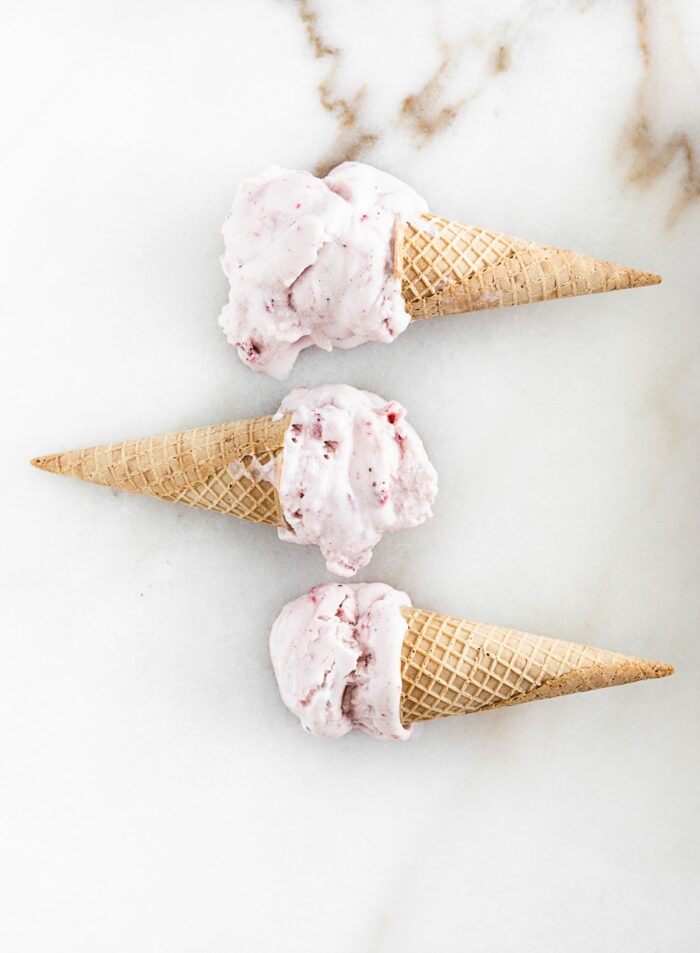
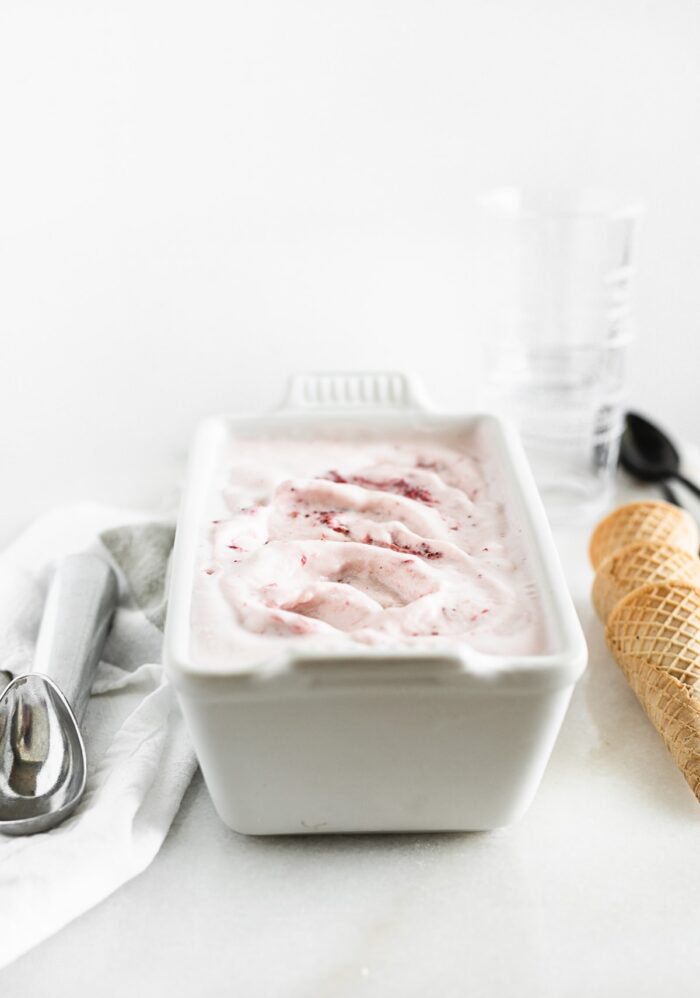
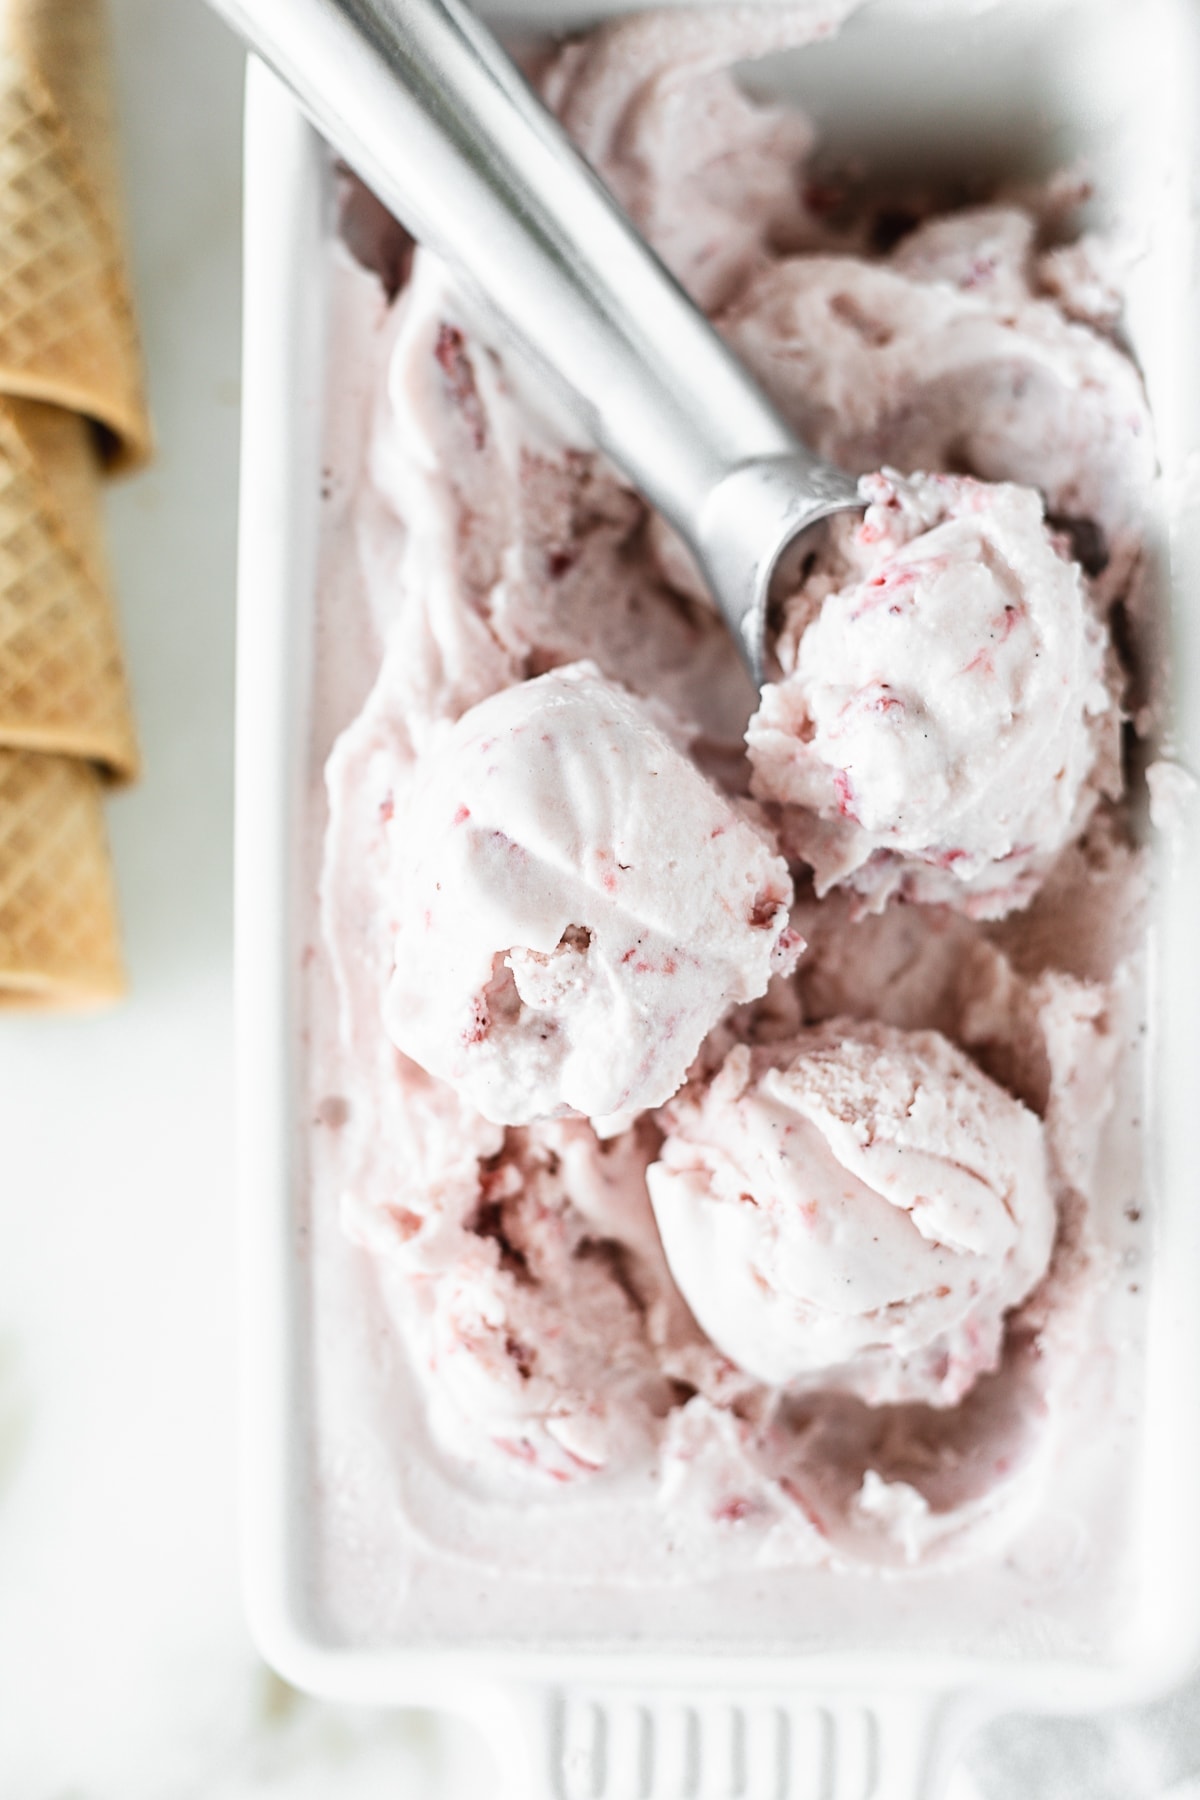
This homemade ice cream is made with roasted strawberries. They are so fragrant and sweet and give so much strawberry flavor to the creamy vanilla bean base. The extra step of roasting is absolutely worth the amazing flavor, so don’t skip it! Other than the roasting step, this ice cream is super easy to make, with no custard base or eggs, so it's very straightforward. Creamy and rich, this ice cream has the perfect soft-serve consistency right out of the ice cream maker, or is great frozen a little longer for a firmer scoop. It's like heaven.
How to Make Roasted Strawberry Ice Cream
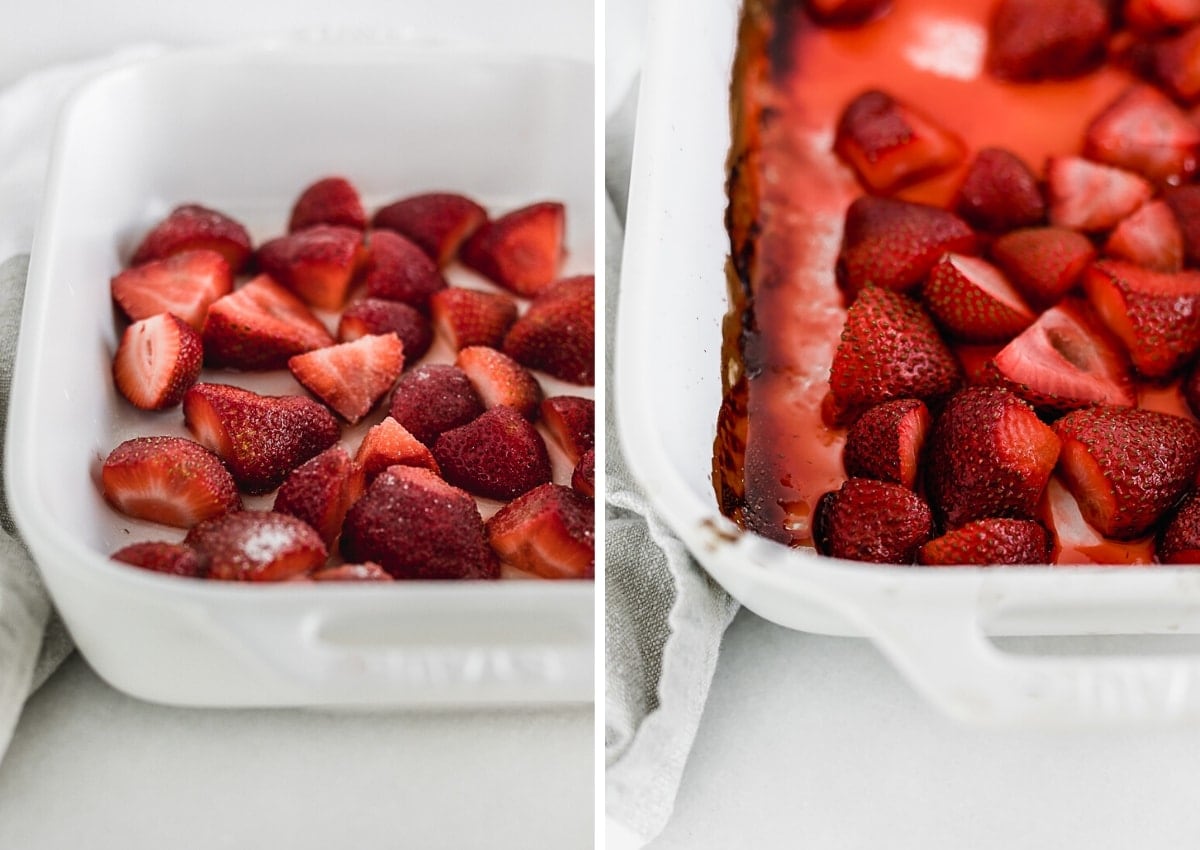
Roast the strawberries.
- Heat your oven to 400° F.
- Place the strawberries in a baking dish with the lemon juice. Roast the berries for 25-30 minutes, and then let cool before mashing.
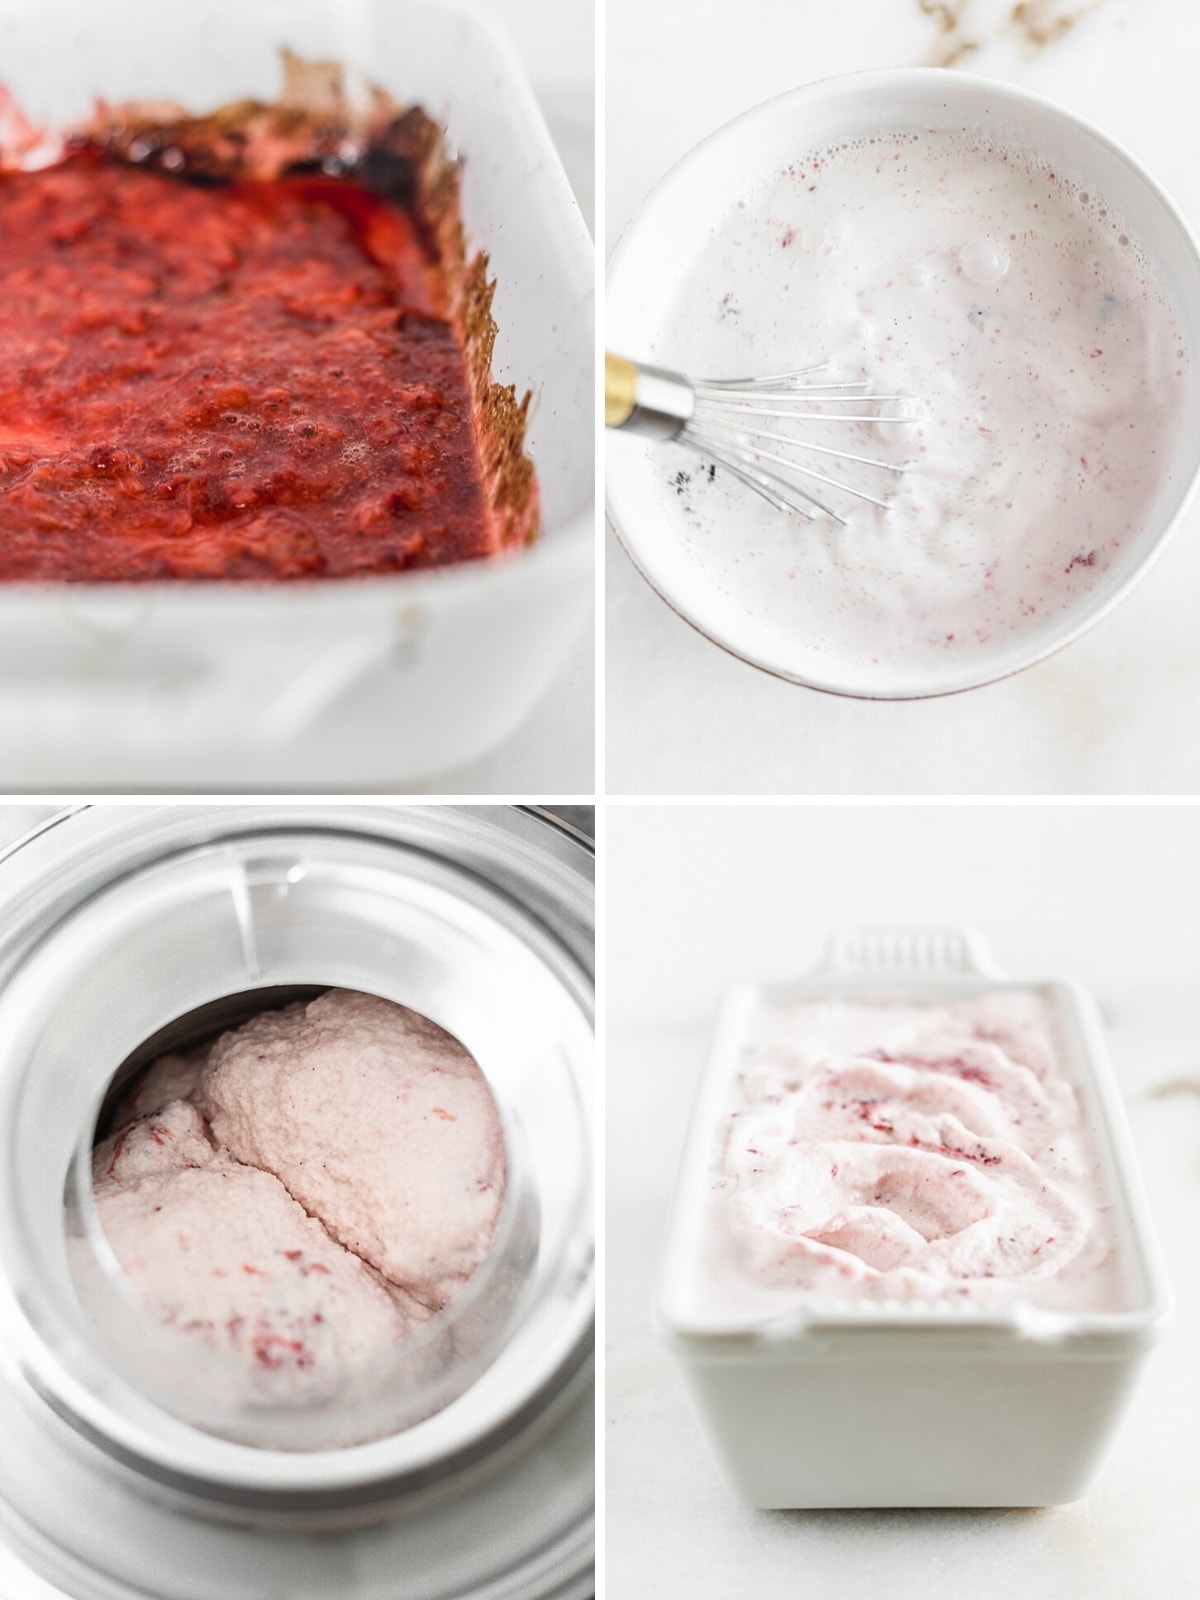
Make the ice cream.
- In a mixing bowl, whisk the milk, half and half, sugar, and vanilla beans. Stir in the strawberries.
- Pour the mixture into the bowl of an ice cream maker. Churn the ice cream according to your manufacturer's directions.
- If you like a soft-serve texture, enjoy the ice cream now.
- If you like a firmer ice cream, freeze the mixture for a couple of hours.
If you've ever made ice cream, you know that it's never made in a pinch. You've got to freeze the bowl of the maker, chill the base before churning, and if you want a more solid ice cream, freeze it even longer before enjoying it. But it's totally worth all of those steps for such an amazing dessert!
How Long Does Homemade Ice Cream Take to Make?
The length of time it takes to make homemade ice cream varies depending on your ice cream maker. Usually, it can take anywhere from 20-40 minutes of churning to reach the right consistency.
How Do You Store Homemade Ice Cream?
Store your ice cream in a shallow, flat container (an air-tight container works best). Not only does this keep the ice cream an even consistency, but it makes it easier to scoop. To prevent ice crystals from forming, place a piece of plastic wrap on the surface of the ice cream before freezing. Homemade ice cream can be stored for up to one week, any longer than that and it will start to lose quality.
Tips for Making Homemade Roasted Strawberry Ice Cream
- Ice cream is only as good as the ingredients you use to make it. Make sure you use high-quality fresh ingredients if you want the best tasting ice cream.
- Don't overfill your ice cream maker. I recommend filling it three-quarters full for the best results, any more than that and the ice cream won't churn properly.
- I used 2% milk in this recipe and it turned out great for me, but feel free to use whole milk if you'd like.
- I highly recommend the vanilla bean or vanilla bean paste (which is much more convenient!) if you have it, but vanilla extract will work in a pinch.
- Making ice cream at home has become a little bit easier and less daunting since my grandma gave me this ice cream maker for Christmas last year. It doesn't require any ice or rock salt, and it's less bulky than your old fashioned ice cream makers. I've been loving it for making homemade ice cream. I keep the bowl in the freezer outside just in case the urge for ice cream strikes - which is often in our house!

I love that this 'pink ice cream' is Queen C's favorite now! And if grandpa were still here, he would love it, too. He would recite, I scream, you scream, we all scream for ice cream!, right before digging in.
More Strawberry Recipes You'll Love
- Mini Gluten-Free Strawberry Rhubarb Tarts
- Strawberries and Cream Grilled Angel Food Cake
- Strawberry Ginger Beet Sorbet
- Low Sugar Strawberry Jam
- Chocolate Strawberry Smoothie Bowl
Did you make this recipe? Please leave a star rating in the comments!
PrintHomemade Roasted Strawberry Ice Cream

This homemade roasted strawberry ice cream is bursting with sweet, creamy strawberry flavor and it's so easy to make with only 6 simple ingredients and no egg custard base! It's a must-have dessert this summer! (gluten-free)
- Prep Time: 10 minutes
- Cook Time: 30 minutes
- Total Time: 24 hours
- Yield: 8 servings 1x
- Category: dessert
- Method: roasted
- Cuisine: American
Ingredients
For roasted strawberries:
- 2 cups strawberries, hulled and halved
- Juice from ½ lemon
- 1 tbsp sugar
For ice cream:
- 2 cups half & half
- 1 cup milk (whole or 2%)
- ⅔ cup sugar
- 1 2-inch piece vanilla bean pod, beans scraped out (or 2 tsp vanilla bean paste or extract)
Instructions
- Freeze bowl of an ice cream maker for at least 12 hours.
- Heat oven to 400° F.
- Place strawberries in a baking dish with lemon juice and stir to coat. Roast 25-30 minutes. Remove form oven and let cool before mashing with a potato masher.
- In a mixing bowl, whisk milk, half and half, sugar, and vanilla beans. Stir in cooled strawberries.
- Pour mixture into bowl of an ice cream maker and follow manufacturer's instructions to churn. (mine took about 20 minutes).
- If you like a soft-serve texture, enjoy now.
- If you like a firmer ice cream, freeze mixture for a couple of hours before serving. You may have to thaw for a few minutes before scooping into bowls.
Notes
- Ice cream is only as good as the ingredients you use to make it. Make sure you use high-quality fresh ingredients if you want the best tasting ice cream.
- Don't overfill your ice cream maker. I recommend filling it three-quarters full for the best results, any more than that and the ice cream won't churn properly.
- The length of time it takes to make homemade ice cream varies depending on your ice cream maker. Usually, it can take anywhere from 20-40 minutes of churning to reach the right consistency.
- Store your ice cream in a shallow, flat container (an air-tight container works best). Not only does this keep the ice cream an even consistency, but it makes it easier to scoop. To prevent ice crystals from forming, place a piece of plastic wrap on the surface of the ice cream before freezing. Homemade ice cream can be stored for up to one week, any longer than that and it will start to lose quality.
Keywords: strawberry ice cream, homemade strawberry ice cream
Lyn OReilly says
Roasted strawberry ice cream
What is the liquid quantity
2 cup half in half of what cream or milk and is it plus another cup of milk totaling 3cups all up
Can you please let me no
Cheers Lyn OReilly
Kaleigh says
Hi Lyn,
It's 3 cups total. You can use cream in place of half and half (found near the cream at the store) if you'd like.