


Carving a pumpkin leaves behind a pile of seeds tangled in orange pulp, with the makings of a roasted snack hidden inside. Rinsing removes the strings, but moving those wet seeds straight into a bowl of oil skips a step that affects their texture.
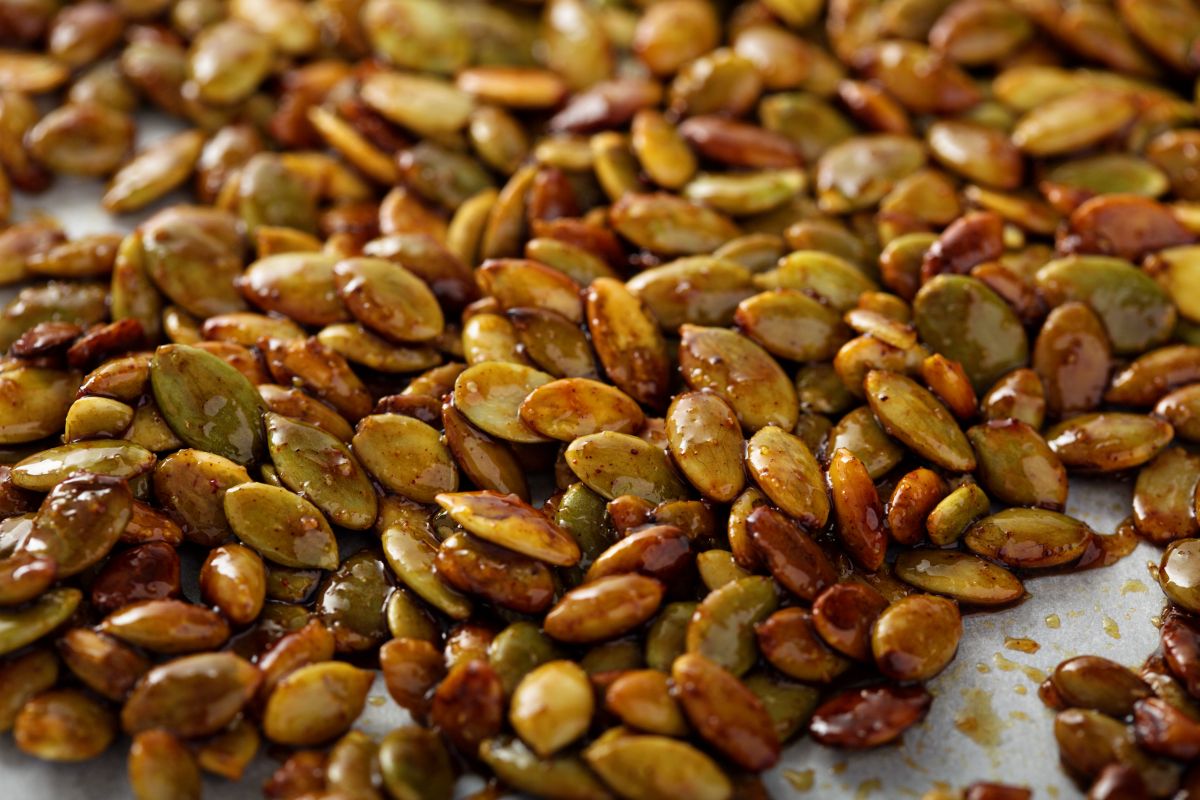
Why can a tray of roasted pumpkin seeds take on color yet still lack the crunch you wanted?
J. Kenji López-Alt’s Serious Eats recipe calls for drying the seeds before seasoning them, followed by roasting at moderate heat. The preparation starts before the oven: surface moisture needs to go so the oil can coat the shells.
Rinsing Gets Rid of Pulp, but Leaves Water Behind
Seeds scooped from a pumpkin carry strands of flesh that need removing for this method. Wash them, separate the seeds from the pulp, and spread them across a rimmed baking sheet lined with paper towels.
Draining in a colander removes excess water, but the shells can remain wet where seeds overlap or sit against one another. Spread them out so their surfaces have room to dry before adding oil.
The recipe allows about an hour at room temperature, with complete dryness as the goal rather than a fixed deadline.
The Step That Helps Oil Coat the Seeds
Oil helps the seeds toast and develop a crisp finish, but a wet surface gets in the way of an even coating. Adding more oil does not replace the drying stage.
Once the shells are dry, toss the seeds in a bowl with oil, salt, and black pepper, turning them until the coating reaches the whole batch. Transfer them to a rimmed baking sheet and spread them out for roasting.
Drying prepares the surface; oil and oven heat do the roasting. Each part of the process contributes to the finished texture.
More Heat Is Not the Shortcut
Turning up the oven can bring color to the outside before the center has had enough time to dry. Moderate heat gives the seeds time to lose moisture while developing a golden shell.
The source recipe uses 325°F (160°C) with the rack in the center of the oven. Stir during roasting to move the seeds around the tray, and watch for a pale golden finish.
For a batch of two cups, the recipe takes about 25 minutes, though the appearance of the seeds should guide when you remove them.
Need to Speed Up the Drying Stage?
If you want to skip the wait on the counter, the recipe offers a low oven as an alternative. Dry the washed seeds at 200°F (90°C), stirring from time to time, before coating them with oil.
That low heat serves a different purpose from the roasting temperature: it removes moisture ahead of seasoning. Once the seeds are dry, take them out, raise the oven temperature, and prepare them for roasting.
Let the Seeds Cool Before Closing the Container
Roasted seeds continue releasing moisture as they cool, so sealing them while warm can trap that moisture with the snack you have just made.
Leave the batch to cool before transferring it to an airtight container for storage at room temperature. The same attention to moisture that matters before roasting also matters afterward, helping preserve the texture instead of trapping steam beneath a lid.
Leave a Reply