
Learn how to can your own food and preserve your garden's harvest at home with this beginner's guide to canning - including terminology, the canning process, safety tips, and recipes!
Canning is one of those things that seems intimidating at first, especially with all the warnings about spoiled food and the unfamiliar terminology used with many canning recipes. But I promise, it gets easier the more you do it! And the payoff is so worth it! I seem to get a lot of questions about canning, so I've put together a little guide to help you get started.
Why Home Can Food?
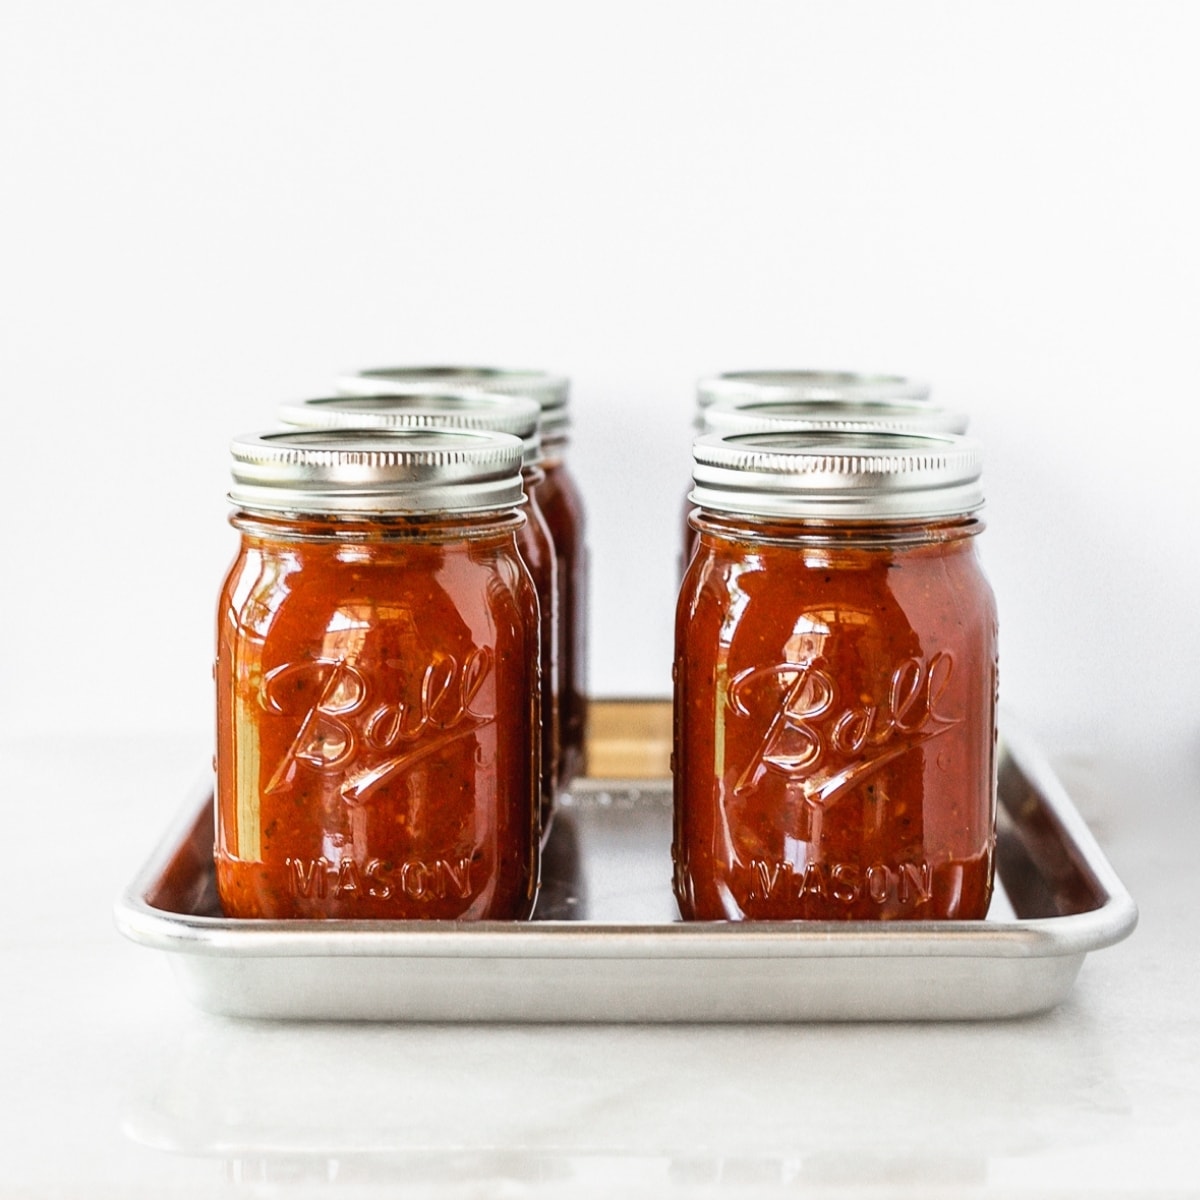
I love canning. Not only is it fun and rewarding, it's really very practical. Canning my own healthy sauces, like enchilada sauce and spaghetti sauce, saves me time when I go to make dinner on busy nights. It's also much more convenient to store homemade jams and jellies, and things like roasted hatch chiles or prepared artichoke hearts, in the pantry than to have them take up precious freezer space. Finally, canning is a great way to prevent food waste, as you can preserve so many different fruits and vegetables, sauces and spreads to enjoy all year long!
Beginner's Guide to Canning
Terms to Know
- Lid - The flat circle part of the top that goes on top of the jar first.
- Band - The round part that screws on after the lid is placed.
- Headspace - The amount of empty space you leave from the top of the filling to the top of the jar.
- Water Bath - Method of canning for high acid or high sugar foods like pickles, tomato sauce or jams. Filled cans are boiled in a large stock pot filled with water for a set amount of time.
- Pressure Canning - Method of canning for low acid foods, like meat and vegetables. A pressure cooker reaches a higher temperature needed to safely preserve low acid foods.
- Finger-Tight - Tightness of screwing on the band reached by just using your hands.
- Processing time - The amount of time you need to boil or pressurize jars of food to ensure bacteria is killed and food can safely be stored.
Tools you'll need:
- Glass preserving jars with bands and new lids
- Large saucepot with a lid and rack that fits inside for waterbath canning, or a pressure canner for pressure canning
- Headspace tool, wide mouth canning funnel, and jar lifter (usually sold as a kit)
- Common kitchen tools for preparing your recipe
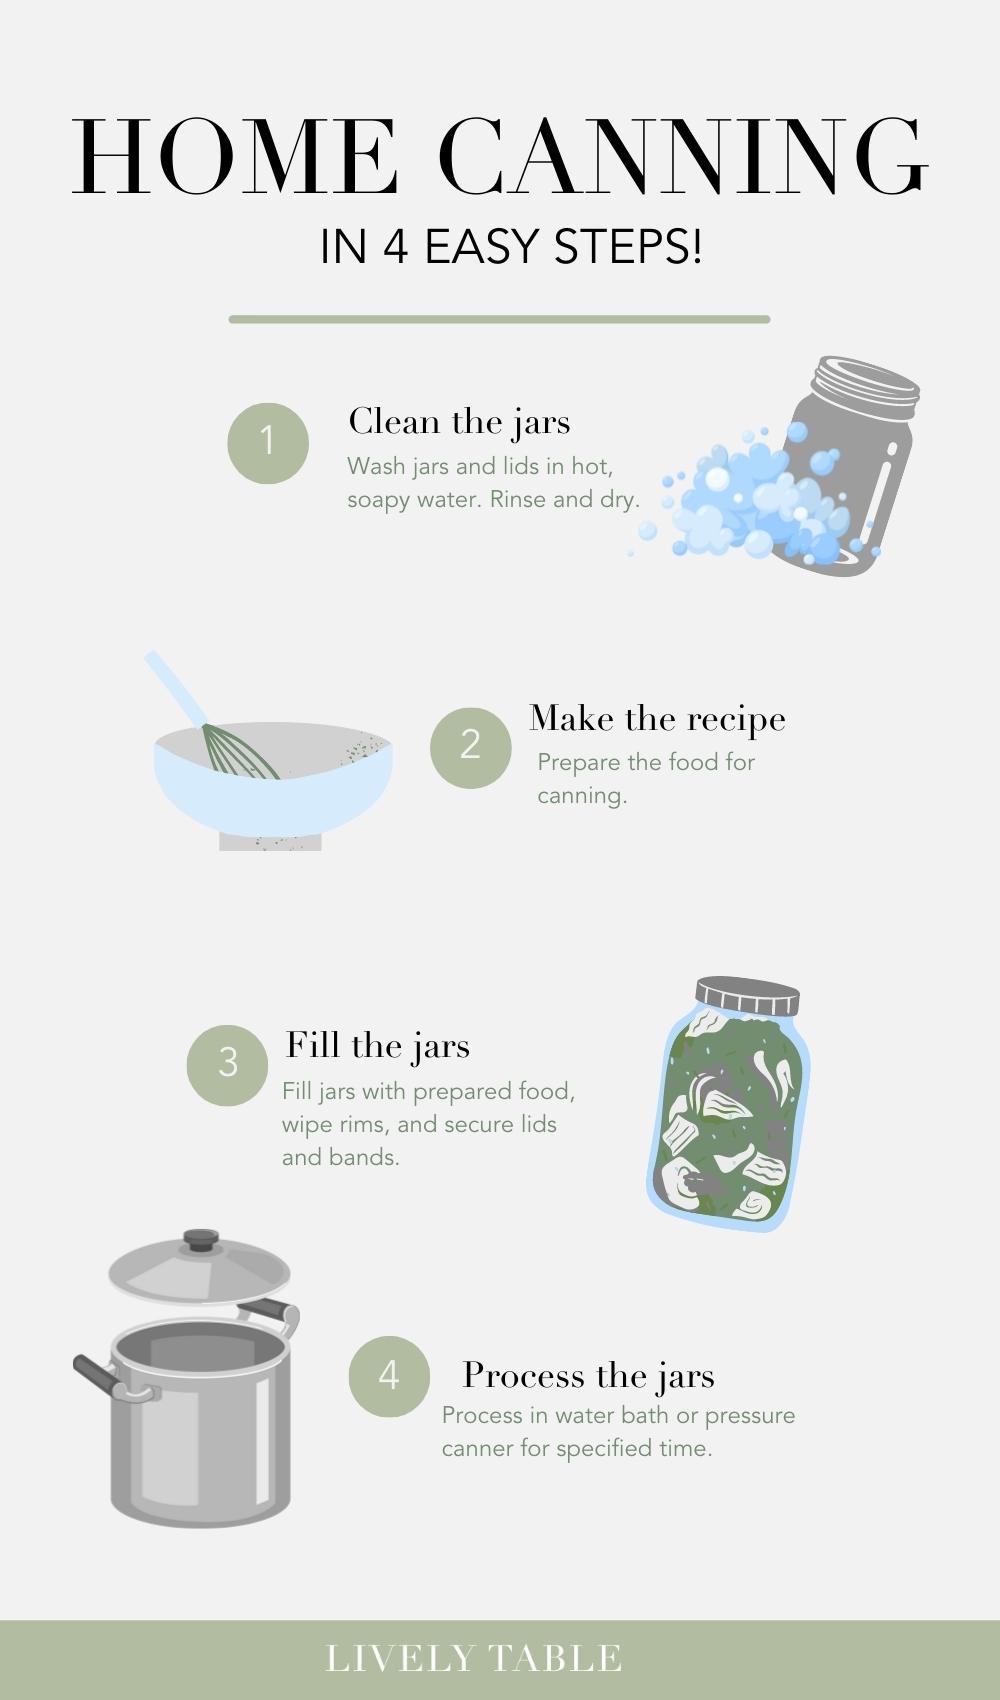
Canning Steps
- Determine the method of canning you'll need to use. The recipe you're using should state which method you'll be using (water bath or pressure canning), or you can read this article to help you determine the best method.
- Prepare your jars.
- Discard any jars with cracks or nicks.
- Wash jars and new lids in hot, soapy water and dry. According to the USDA's newest Complete Guide To Canning, it is no longer necessary to sterilize jars prior to filling them if the jars will be processed in a water bath or pressure canned for longer than 10 minutes. It is also no longer necessary to boil the lids, as this may prevent them from sealing properly.
- Keep jars hot until you're ready to fill them if the recipe calls for hot packing (or using hot food). This will keep the jars from shattering when you fill them.
- Prepare your canning method.
- For a water bath, set the rack on the bottom of the pot. Fill it about halfway with water and keep it at a simmer, covered, until you place the jars inside.
- For a pressure canner, place the rack inside and fill with 2-3 inches of water.
- Prepare the food to be canned according to the recipe.
- Fill jars with prepared food.
- Use the funnel to pour food (or boiling liquid) into jars to prevent splashing, leaving the amount of headspace called for in the recipe.
- Use a long, skinny tool, such as a wooden skewer, or a rubber spatula to remove any air bubbles by sliding the tool between the jar and the food.
- Wipe the rims of the jars clean with a clean damp cloth (I like to use a little vinegar on the cloth).
- Center the lid on the jar, then screw the band on over the lid until it is finger-tight.
- Process your jars.
- Place jars into water bath or pressure canner using the jar lifter.
- For a water bath, the water level should be 1-2 inches above the tops of the jars. Bring the water to a rolling boil. Once boiling start the timer and process for the time called for in the recipe. Once processing time is done, turn off the heat and let the cans sit for 5 minutes before removing to a towel on the counter.
- For a pressure canner, place jars on a rack in the pressure canner. Ensure water level is 2-3 inches high. Place cans on the rack. Lock the lid in place, turn heat to medium-high and allow steam to escape through the open vent for 10 minutes before closing the vent or placing the weight gauge on the vent. Allow the cooker to come to recommended pressure and start the timer for the recommended processing time, maintaining recommended pressure the entire time. Once processing time is done, turn off heat and let pressure return to zero naturally. Once depressurized, unlock or lift gauge from vent and open lid away from your face. Let cans rest for 10 minutes before removing to a towel on the counter.
- For recommended processing times of different foods, refer to the USDA Complete Guide to Home Canning.
- Let cans rest on the counter and test for proper sealing.
- Leave jars out on the counter for 12-24 hours. Do not retighten bands, as this may interfere with the sealing process. You will hear 'pops' as the lids seal completely.
- After 12-24 hours, check for proper sealing. When you press the lid down, there should be no flex (it should not move down or pop up). Remove bands and lift lids with your fingers. If lid remains attached, it is sealed properly.
- Store properly sealed jars in a cool, dark place up to 18 months or as described in the recipe. Leave the bands off, as any water stuck under the band will cause rusting.
- Immediately refrigerate any unsealed jars and consume promptly.
Like I said, the process will get easier the more you practice!
Canning Recipe Ideas
- Low Sugar Apricot Jam (+ Lavender, Almond, and Vanilla Versions!)
- Low Sugar Strawberry Jam
- Low Sugar Wild Plum Jam
- 3 Ingredient Vanilla Bean Rhubarb Compote
- How To Roast and Can Hatch Chiles
- Easy Weeknight Spaghetti Sauce
- The Easiest Homemade Red Enchilada Sauce
- Homemade Green Enchilada Sauce
- Homemade marinara sauce
Tom says
Hi Kayleigh,
Amazing article - i'm super keen to give canning a go!
Just 1 question - How do you test the PH of your food to work out if it's high or low acid? I googles PH testers and got completely bamboozled by the different types!
Thanks, Tom
Kaleigh says
Hi Tom,
Thanks for your comment! You don't really need to test the acidity. The only foods that are acidic enough to be water bath canned are fruits, tomatoes, and pickled vegetables. Tested recipes for all of these will usually include some sort of acid if needed, such as lemon juice, vinegar (in the case of pickles), or citric acid. Everything else must me pressure canned. Hope that helps!
Chelsey says
Hi! I understand that if a food has low acidity, it needs to be pressure canned. But if it’s high acidity, does it HAVE to use the water bath? Or can you use a pressure canner for everything?
Kaleigh says
You certainly could, but processing times are usually so short for water bath canning that by the time you reached pressure in a pressure canner, it would be done.
Chelsey says
Ahhh, that makes sense. Thank you!
Donna says
First time canner here. Can you tell me if I did anything wrong? I blanched tomatoes, cooled them in cold water. Peeled and cored them. Cut them in quarters and added them to a pot smashing with a potato masher as I went. I cooked them about 25 minutes. I added warm smashed tomatoes to warm jars, with 1/2 in of head space. I added lemon juice and salt and placed limes and rings on. I pressure canned them at 12lbs (per my altitude) for 25 minutes. When the pressure valves went down, I opened the canner and moved the jars to a towel on the canner. I covered them with a dish towel and went to bed. This morning all jars are sealed. 2 of the 4 jars have separated liquid at the bottom and about and inch and a half to 2 inches of head space in the sealed jars. The other 2 did not separate and look perfect. Are the two that had so much liquid loss and separation safe to eat or store!
Kaleigh says
Hi Donna,
I haven't ever canned my own crushed tomatoes, but it seems that the problem could either be too much or too little headspace causing some liquid loss during pressure canning, or perhaps just the breakdown of the tomatoes during the canning process. Regardless, as long as the jars are sealed they are safe to eat! Here are a couple good articles that explain in more detail:
https://www.healthycanning.com/loss-of-liquid-during-home-canning/
https://foodinjars.com/blog/canning-101-tomato-float-sauce-separation-and-loss-of-liquid/
Kimbra says
When do you put the lid on?
Tobi Harper says
Question: what’s the difference between a pressure cooker and a water bath?
I’m going to start doing some canning myself. I grew up watching my Aunt work with only a pressure cooker.
I was just a pretty young and was very scared of the pressure cooker. Needless to say, I’m still scared of it, lol!
So if I can without using it, I’m all up for the process.
Sorry for the long Practically dumb question but if I don’t ask, I will never know.
Thank you for your time!
Kaleigh says
Not a dumb question, it's the only way to learn! A water bath is basically a big pot filled with water that you submerge the cans in and boil for a set amount of time. You use that for high acid and high sugar foods like jams and fruit. A pressure canner is the big bulky thing that has a weight on the top so you can determine the pressure. You only add about 2-3 inches of water and then you pressure cook the cans to get them to a higher temperature. The pressure canner is needed for low acid foods (veggies, beans, meat, etc) because you need to reach a higher temperature to safely can and store them. I hope that helps!
Theresa says
Hi I'm new to Canning, is it possible to can my Beef Stew ?
Kaleigh says
Hi Theresa! Yes, it should be possible to pressure can beef stew. I recommend looking up a USDA home canning or Ball canning recipe similar to the one you'd like to can for processing recommendations.
Barbara Faulkner says
I’m new also, to canning, I need to know how much room u need between the top of jar and the sauce, say like Italian sauce, is it a inch, I just don’t want sauce spilling out. I also want to use my own recipe. Thanks so much for helping this green horn canner...
Kaleigh says
Hi Barbara,
It usually depends on what you are filling the jar with. For tomato sauce, you usually leave 1-inch headspace. I recommend searching for recipes similar to what you are making on the Ball canning or USDA home canning website to give you an idea.
Cathy J Nance says
ok question?... what if i have my own recipes that i would like to can? such as my own spaghetti sauce? how do i do that, with figuring out which pot and the time and all that. i dont mean to sound stupid but i know nothing about this. i just decided i want to learn and well, start canning. please help.
thanks cathy
Kaleigh says
Hi Cathy,
Generally, high sugar or high acid foods, like jam and fruit, can be canned in a water bath. Anything low sugar or low acid needs to be pressure canned. I would try searching the Ball canning or USDA website for something similar to your recipe and see what's recommended if you're unsure. Bravo to you for trying! It gets easier once you start doing it!
Steven David Myles says
What is the processing time at sea level?