


Water seems like the last thing that belongs in a frying pan when crisp bacon is the goal. A small splash at the start, however, can help the fat render before the meat gets too dark.
New Zealand chef Andy Hearnden of Andy Cooks uses the method by putting bacon into a cold pan, adding a little water, then letting both heat together. The bacon does not stay submerged, and the water is gone before cooking ends.
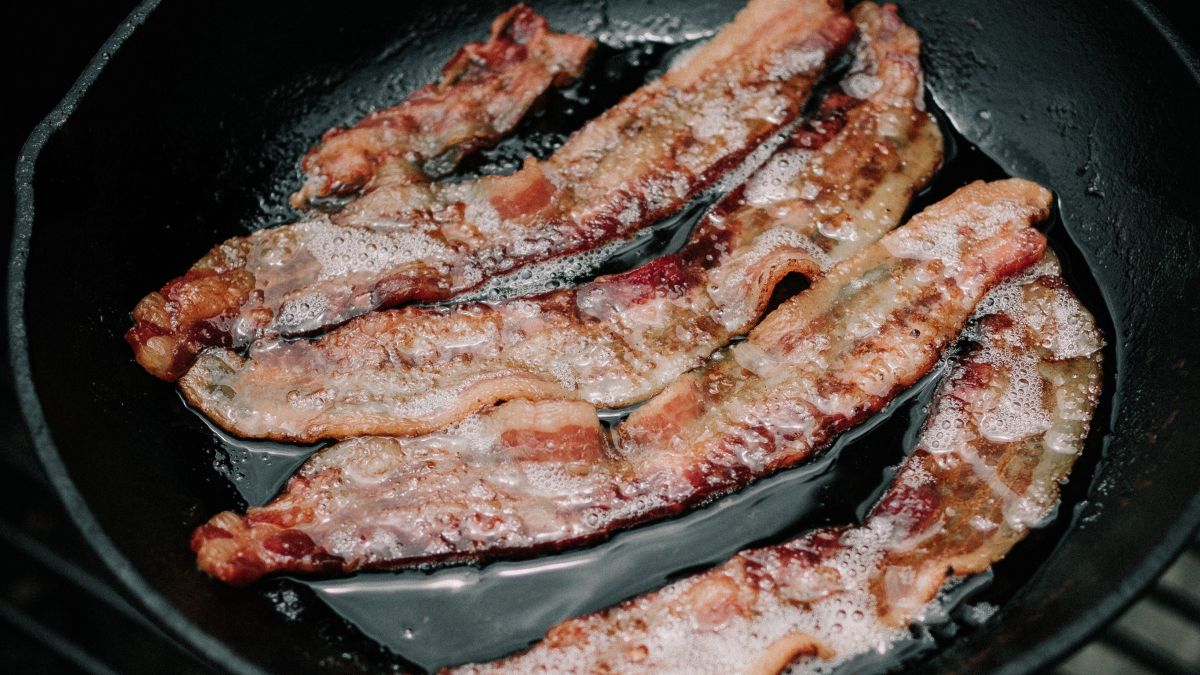
What happens between those two stages explains the trick. Instead of hitting a hot, dry surface from the start, the bacon gets time to release its fat before the final browning begins.
Start the bacon with a little water
Place the bacon in a cold frying pan rather than heating the pan first. Add a small splash of water over the rashers, then turn on the heat.
There is no need to cover the bacon with water. The goal is to add enough to keep the temperature under control during the first stage of cooking.
As the pan heats, moisture begins to evaporate while fat renders from the bacon.
Water gives the fat time to render
Bacon contains both fat and moisture. Drop it straight into a hot, dry pan and the meat can brown before enough of that fat has rendered.
Water changes the beginning of the process. Its presence keeps the pan temperature lower while the bacon heats and releases fat.
Once the water evaporates, rendered bacon fat remains in the pan. At that point, the cooking method changes without any extra step: the bacon begins frying in its own fat.
That creates more even contact with the pan and gives the surface time to brown and crisp.
Let the water evaporate before judging the bacon
Bacon will not look crisp during the water stage, so don't remove it too soon. Wait for the added moisture to cook away.
Once the pan contains rendered fat instead of water, browning picks up. Turn the rashers as needed and continue cooking until the surface reaches the texture you want.
Starting with water does not mean finishing with wet bacon. The water serves a purpose at the beginning and evaporates before the crisping stage.
A cold pan also matters
The water isn't the only part of the method. Starting with a cold pan gives bacon fat more time to render as the temperature rises.
Putting bacon into a pan that is already hot exposes the exterior to intense heat at once. A gradual increase in temperature gives the fatty sections time to soften and release into the pan.
It can also reduce some of the aggressive splattering associated with dropping fatty bacon onto a hot cooking surface.
Small cuts can stop bacon from curling
Bacon sometimes curls because the fatty edge contracts as it cooks. That can lift sections away from the pan, leaving some areas browned while others have less contact with the cooking surface.
Small cuts along the fatty edge can help. Use kitchen scissors or a knife to make a series of short snips before cooking, without cutting through the entire rasher.
The cuts give the edge room to contract without pulling the whole strip into a curve, helping more of the bacon remain against the pan.
Water and crispy bacon aren't opposites after all
Adding water works because it is not meant to create the crisp surface itself. It changes what happens before browning begins.
A cold pan and a splash of water give the bacon time to render fat. The water then evaporates, leaving that rendered fat behind for the final frying stage.
So if bacon tends to develop dark edges before the fatty sections have crisped, the solution may sound backward: put it in a cold pan and add a little water before the frying starts.
Leave a Reply