


Bacon-wrapped shrimp already combine crisp pork with tender seafood, but coating the bacon before it goes into the oven adds another layer. Brown sugar brings sweetness while paprika adds pepper flavor and color, creating a coating that cooks onto the bacon before it gets wrapped around the shrimp.
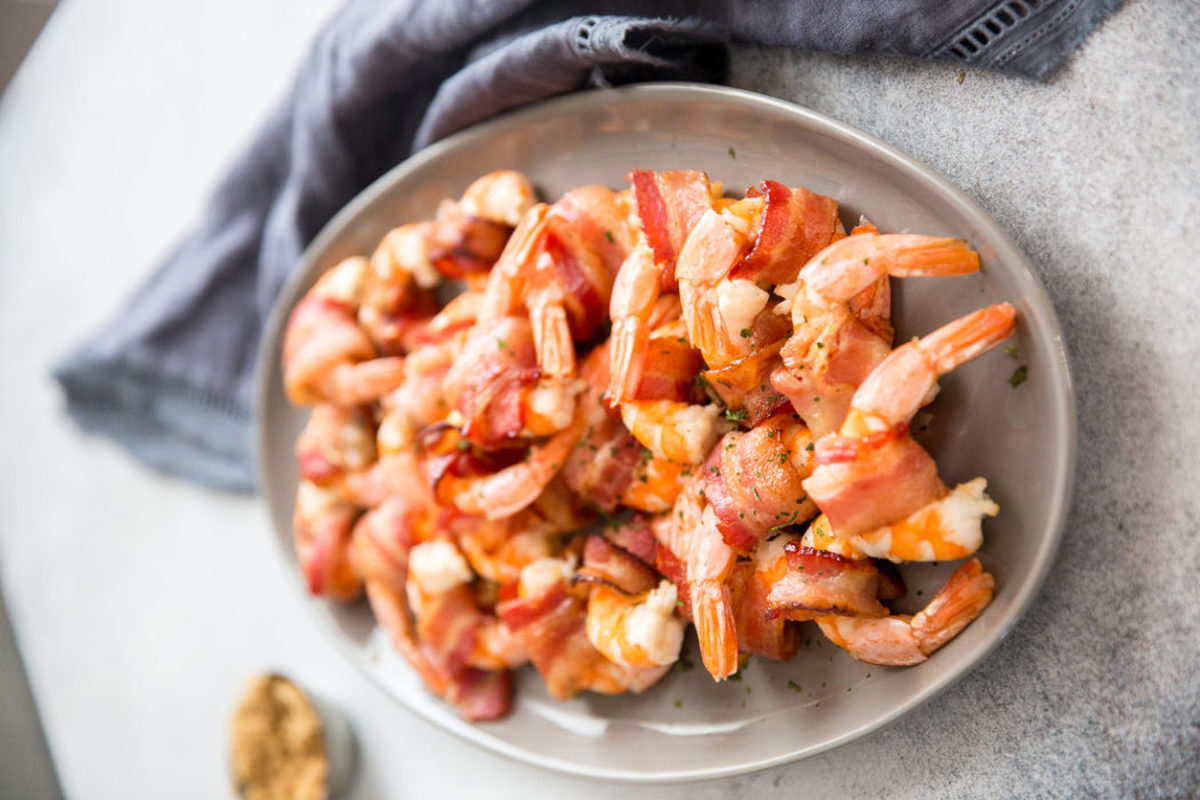
The bacon gets a short head start in the oven, then finishes cooking around the shrimp. That two-stage method gives the bacon time to crisp without leaving the shrimp in the heat longer than needed.
Coat the Bacon With Brown Sugar and Paprika
Line a rimmed baking sheet with aluminum foil and place a baking rack on top. Coat the rack with nonstick spray before arranging the bacon in a single layer.
Brown sugar and paprika form the seasoning mixture. Spread it across the bacon so each strip picks up both flavors before cooking.
Bake the bacon for 6 to 8 minutes. At this point, it should be partially cooked rather than crisp, with the brown sugar beginning to form a sticky coating.
Give the Bacon a Head Start Before Adding the Shrimp
Shrimp cook much faster than bacon, which can create a problem when both ingredients start raw. By the time a thick strip of bacon becomes crisp, the shrimp inside can be overcooked.
Partially cooking the bacon first helps bring their cooking times closer together. Let the strips cool enough to handle after their first trip through the oven, then wrap them around peeled shrimp.
Large shrimp work well because they provide enough surface for the bacon. Smaller shrimp can still be used, but each piece may need less bacon.
Wrap Each Shrimp Without Covering It in Too Much Bacon
Cut the bacon strips when needed so each shrimp gets enough to wrap around its center without several thick overlapping layers.
Press the bacon ends together to hold them in place. Use a toothpick when a strip refuses to stay wrapped, then remember to remove it before serving.
Leaving the shrimp tails attached can also give guests an easy place to pick them up when serving the dish as an appetizer.
Finish the Shrimp on the Baking Rack
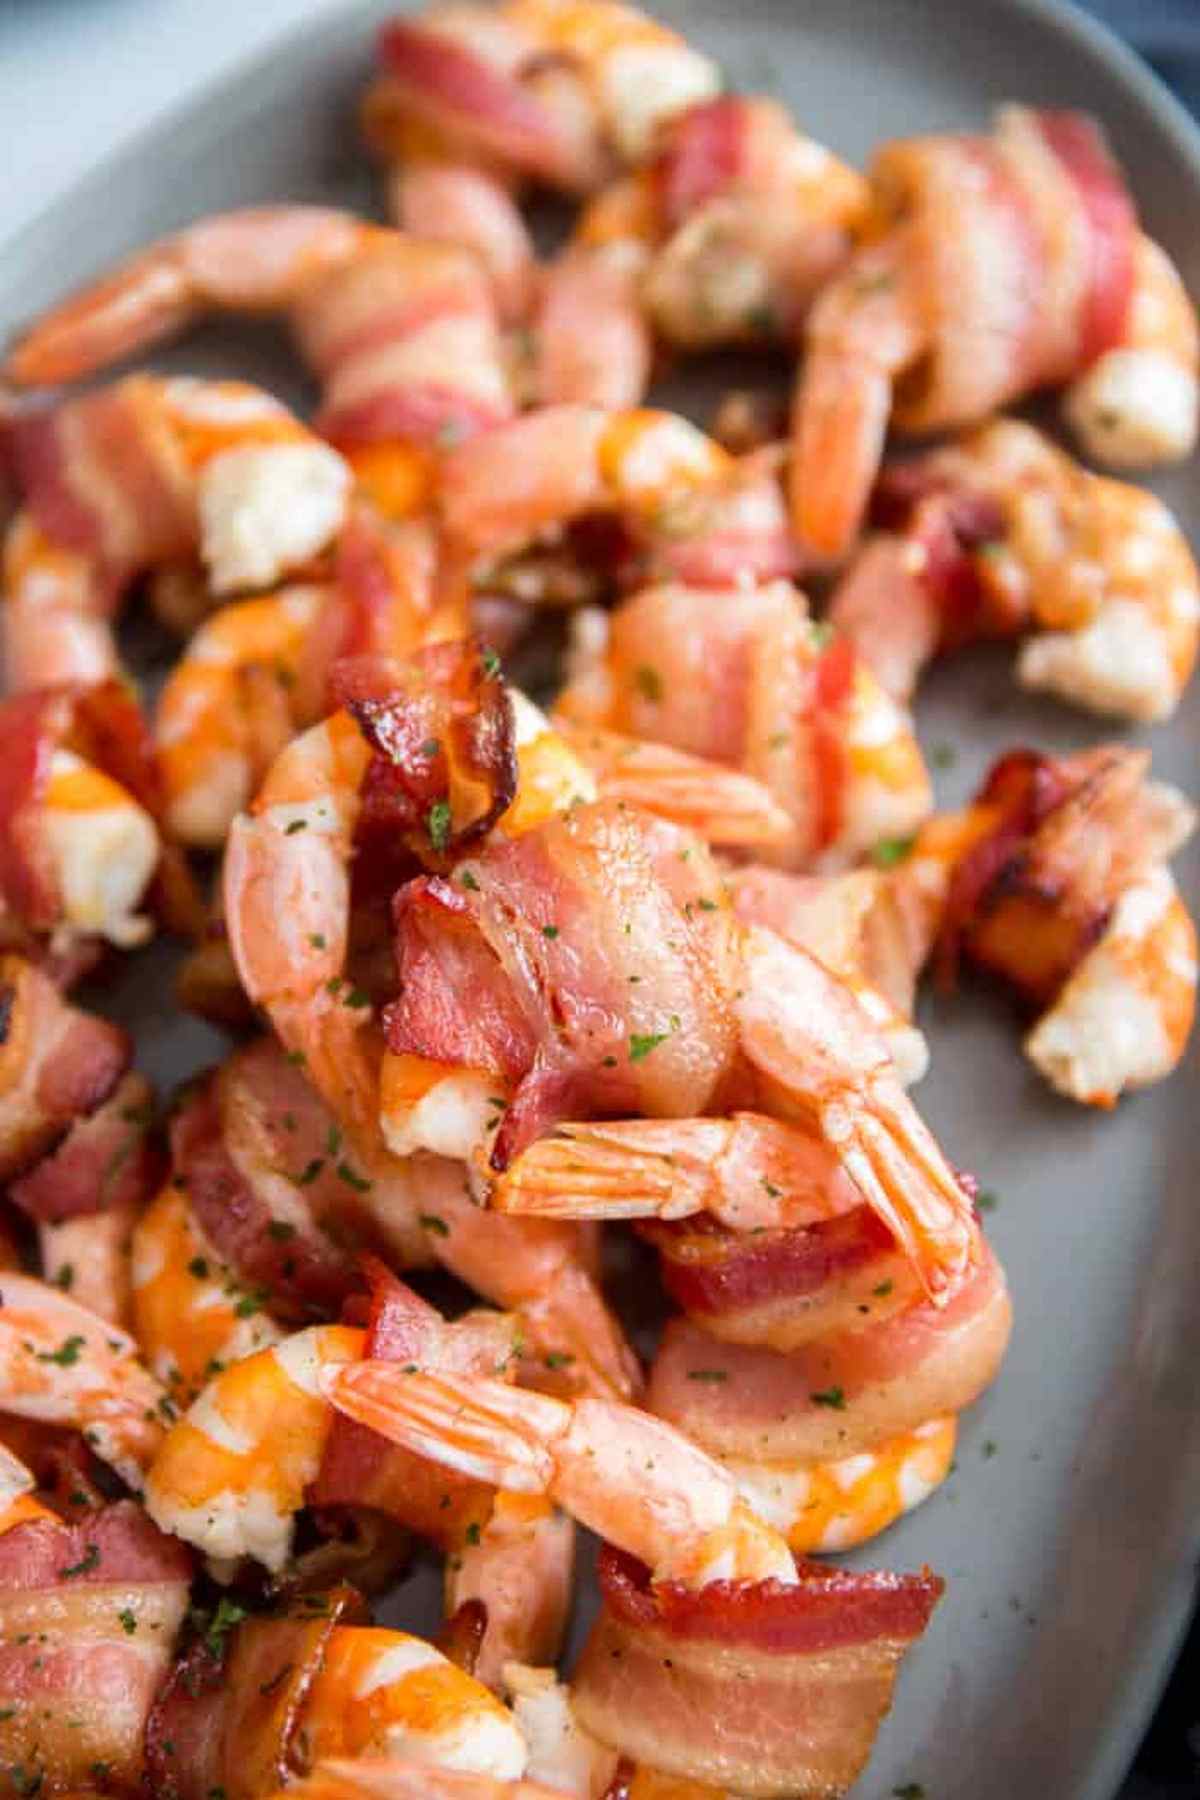
Return the wrapped shrimp to the coated baking rack and bake for another 6 to 8 minutes, or until the shrimp are cooked through and the bacon has reached the texture you want.
The rack keeps the pieces raised above the rendered bacon fat while exposing more of the exterior to the oven heat.
Watch the shrimp near the end rather than extending the cooking time just to make the bacon darker. Shrimp can turn firm and dry when left in the oven past the point when they're cooked through.
Take the Same Bacon-Wrapped Shrimp to the Grill
The final cooking stage can move outside when the grill is already running. Prepare and partially cook the seasoned bacon first, then wrap it around the shrimp.
Coat the grill grates before adding the shrimp, or thread the wrapped pieces onto soaked skewers. They need only a few minutes on the grill, so keep them close and turn them as needed while the bacon finishes.
Paprika and brown sugar do most of the seasoning work before the shrimp ever reach the oven or grill. The result combines the bacon's smoke and salt with a sweet coating and enough pepper flavor to keep each bite from tasting like bacon-wrapped shrimp alone.
Leave a Reply