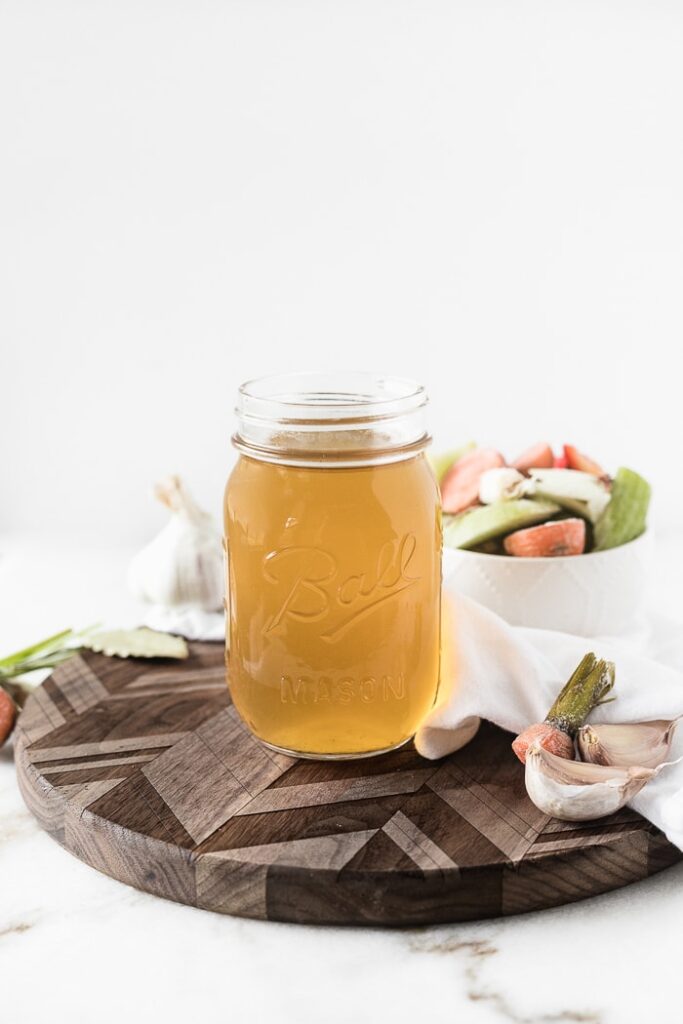
Homemade broth is not only easy to make, but it's healthier and much less expensive than store-bought. Learn everything you need to make bone broth from vegetable scraps and bones in this ultimate guide to making bone broth for the stovetop, Instant Pot, or slow cooker!
This post was originally published in 2016 and has been updated.
Bone broth has been the darling of the health and wellness world for a few years now, with gurus touting the multiple benefits of expensive designer bone broths, like detox, gut healing, relieves arthritis, youthful skin, energy boosting, sleep better, immune support, improve your memory, blah, blah, blah. It’s like every Dr. Oz health claim combined into one.
In reality, no one food is a cure-all, and all of these claims certainly are not true. Why? Because science. There is no scientific evidence that bone broth can do most of these things. BUT! Broth is a highly useful ingredient in the kitchen and adds tons of flavor (and a few nutrients) to anything you cook, so I always keep some around. But I'm not about the fancy, expensive options that line store shelves, so I make my own, and you can too!
First, What Is Bone Broth?
Simply put, bone broth is broth, or stock. The two terms are often used interchangeably, through it's more correct to call it stock, which is unseasoned with salt and is used as a base for many soups, sauces and other dishes. Whereas broth is usually salted and could stand alone for drinking or making soup. The 'bone' part of bone broth simply means is was made using some kind of bones (usually chicken or beef), which break down in simmering hot water over the course of hours, infusing the liquid with vitamins, minerals, and even collagen (a type of protein) as the connective tissue in the bones gelatinizes and breaks down.
Why Should I Make Broth At Home?
I make broth at home for several reasons.
- First, I'm a food blogger. I cook a lot. And I go through a lot of broth, especially during soup season. It's cheaper for me to make at home than to buy it.
- It's also healthier to make at home since I can control the salt and other ingredients that go into it.
- Making broth is a great way to reduce food waste, especially when you're using kitchen scraps - the butt ends of onions, carrots, and celery that you'd otherwise discard, the chicken carcass from the roasted chicken you had for dinner, the cheese rind from that block of parmesan, and the fresh herbs that heave dried out in your fridge. Broth gives them all new life as a nutritious, tasty ingredient that's extra versatile. I keep bags in my freezer specifically for scraps for making broth. When I need to make a batch, I just pull out one of the bags and let some water and heat do the rest.
How To Make Broth At Home
Making broth at home is super easy, and there are several methods for making it, so choose the one that is most convenient for you. It essentially comes down to simmering bones, aromatics, and vegetable scraps (or whole vegetables if you prefer) in water for a long period of time. After a long simmer, strain the liquid, discard the scraps, and store according to your preference. Keep reading for specific instructions according to your method of choice.
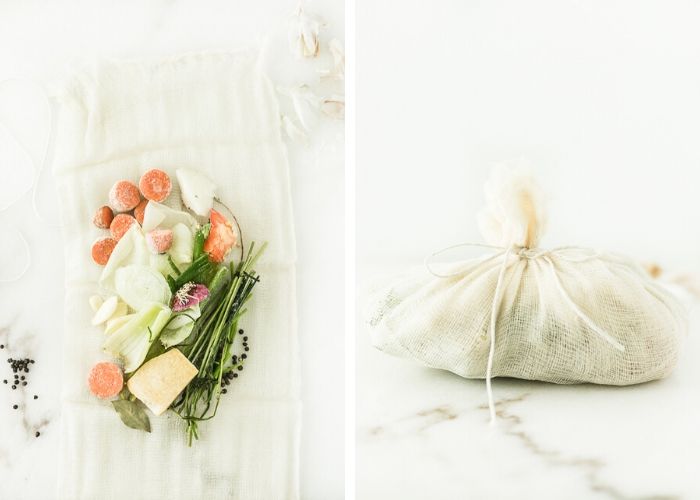
What You'll Need:
- Some type of bones (or not, if you're making vegetable broth) - chicken, beef, pork, lamb, or even seafood shells.
- Vegetable scraps - stay away from starchy and cruciferous vegetables (such as potatoes, broccoli, and cabbage), but anything else is fair game. Traditional broths use a mirepoix of onion, celery and carrot. I usually toss in bell pepper stems, leek greens, fennel, mushroom stems, or fennel as well.
- Aromatics - a smashed garlic clove or two, a bay leaf, peppercorns, and/or herb stems add nice flavor to broth.*
- A splash of acid, such as apple cider vinegar or lemon juice. This helps the bone cartilage gelatinize and the minerals leach from the bone for a richer, more nutritious broth.*
- A hard cheese rind (such as parmesan) - to create extra richness in your broth. *
- Water - If your tap water doesn't taste good, your broth won't either. Use filtered water if that's the case.
- A cooking vessel - a large pot for the stove, a slow cooker, or an Instant Pot/pressure cooker for simmering the broth.
- Some way of straining the broth - a fine mesh strainer, cheesecloth, a nut milk bag. Whatever you have or prefer works here.
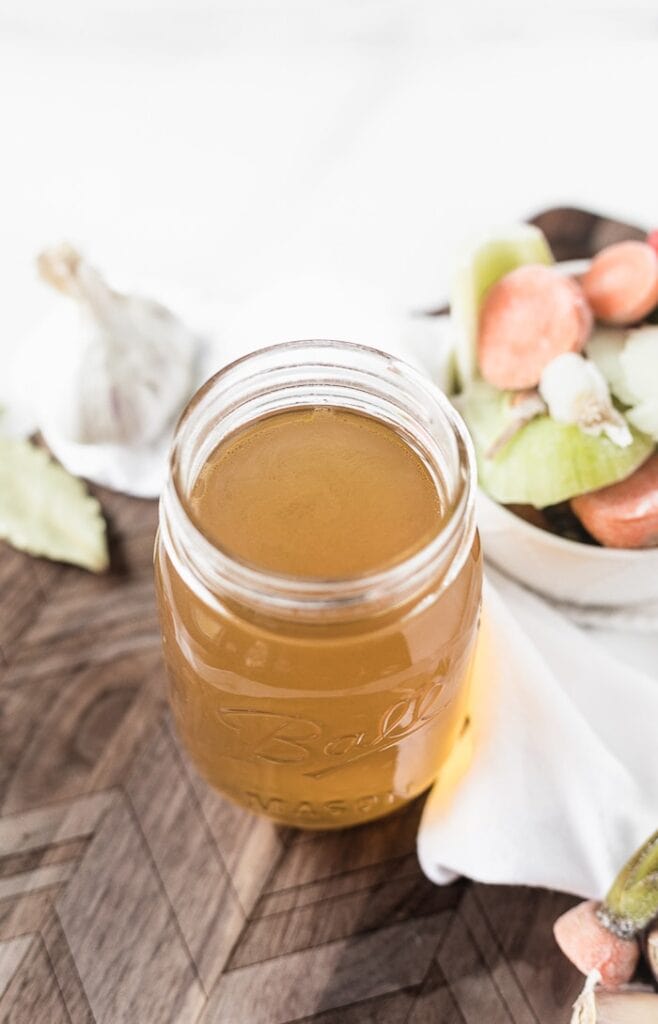
- A method of storage - I prefer mason jars, but you can also freeze in ice cube trays (I like these large silicone ones) or use any container you have handy.
*These are optional but are nice to have for better tasting broth.
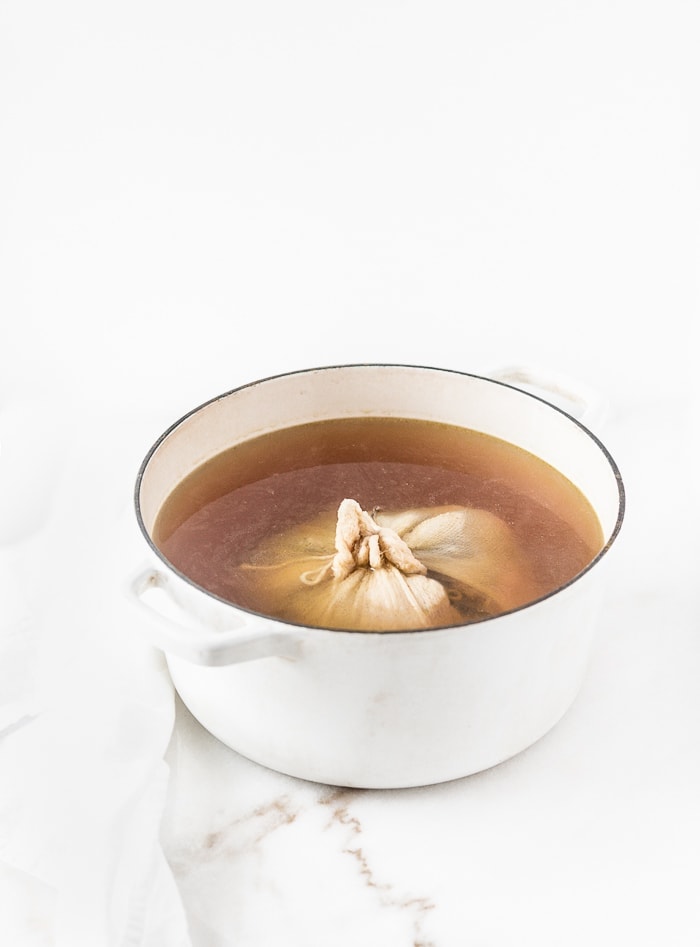
How To Make Broth On The Stovetop
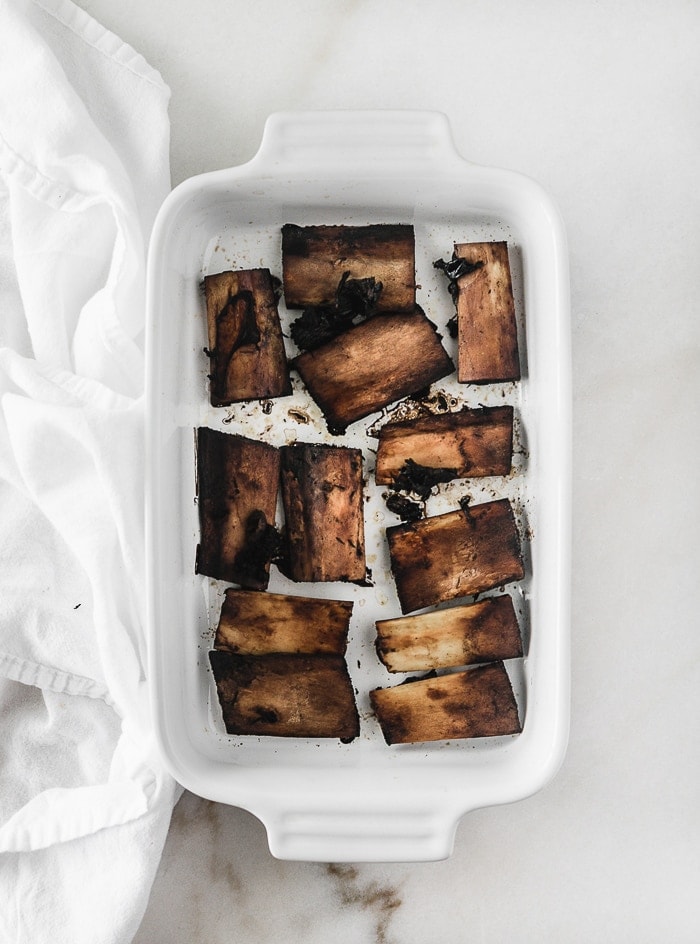
- Start by roasting the bones at 400°F for 30 minutes to an hour. This will bring out more flavor to whatever bones you're using.
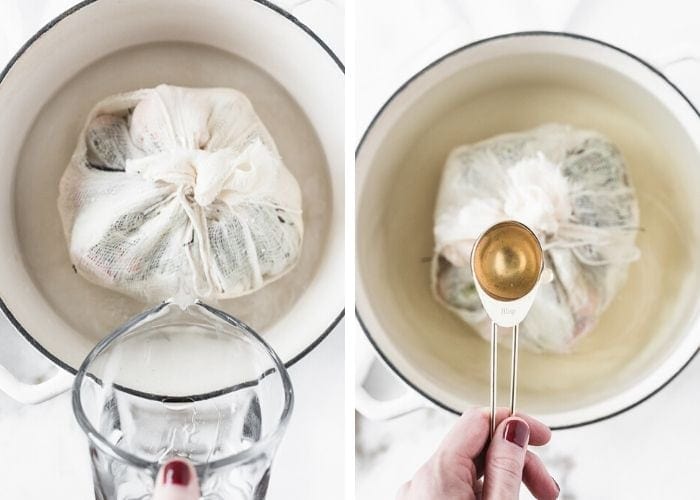
- Add bones, vegetable scraps, and aromatics to a large pot, or tie them up into a cheesecloth bundle with kitchen twine if you'd like. This will make it easier at the end since you can just pull out and discard the bundle from the liquid without having to strain it.
- Fill the pot with about 3 quarts of water (more or less).
- Add a splash of apple cider vinegar or lemon juice. 1-2 tablespoons is plenty.
- Bring the water to a boil on the stovetop.
- Lower heat to the lowest setting so that the broth is on a very gentle simmer.
- Cover the pot and let the broth simmer for anywhere form 8 to 24 hours.
- At the end of cooking, skim any fat or foam from the top, strain (if you didn't use a cheesecloth bundle) and discard the solids, and let the broth cool slightly before handling and storing according to preference.
How To Make Broth In The Slow Cooker
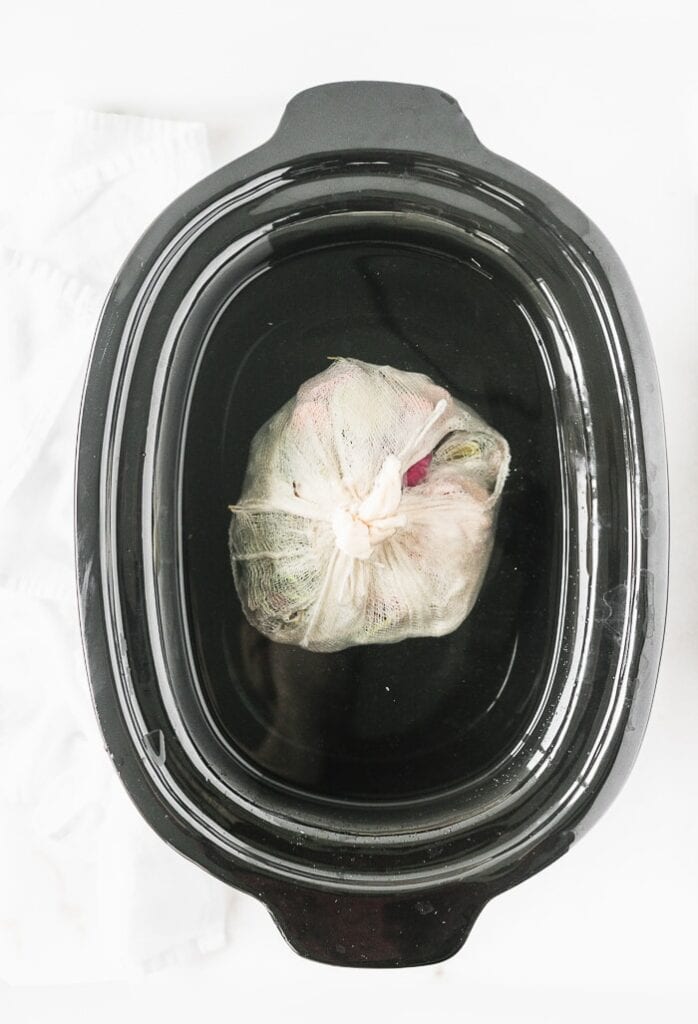
Broth in the slow cooker gives you the convenience to simmer it for up to 48 hours without having to think about it. You can walk away and get to it when you feel like it. To make broth in the slow cooker:
- Start by roasting the bones at 400°F for 30 minutes to an hour and bundling your kitchen scraps (or not) as in the stovetop method.
- Add to the pot of your slow cooker and fill with water, plus 1-2 tablespoons of cider vinegar or lemon juice.
- Cover and cook on high setting until broth comes to a simmer.
- Reduce heat to low and simmer for anywhere from 10 to 48 hours. If the low setting on your slow cooker doesn't come to at least a tiny simmer, keep it on high.
- At the end of cooking, skim any fat or foam from the top, strain (if you didn't use a cheesecloth bundle) and discard the solids, and let the broth cool slightly before handling and storing according to preference.
How To Make Broth In The Instant Pot or Pressure Cooker
The Instant Pot method of making broth combines the convenience of hands-off cooking like the slow cooker with speed for the easiest method of making broth. To make broth in your Instant Pot:
- Start out just like the stovetop or slow cooker by roasting the bones at 400°F for 30 minutes to an hour and bundling your kitchen scraps in cheesecloth (or not).
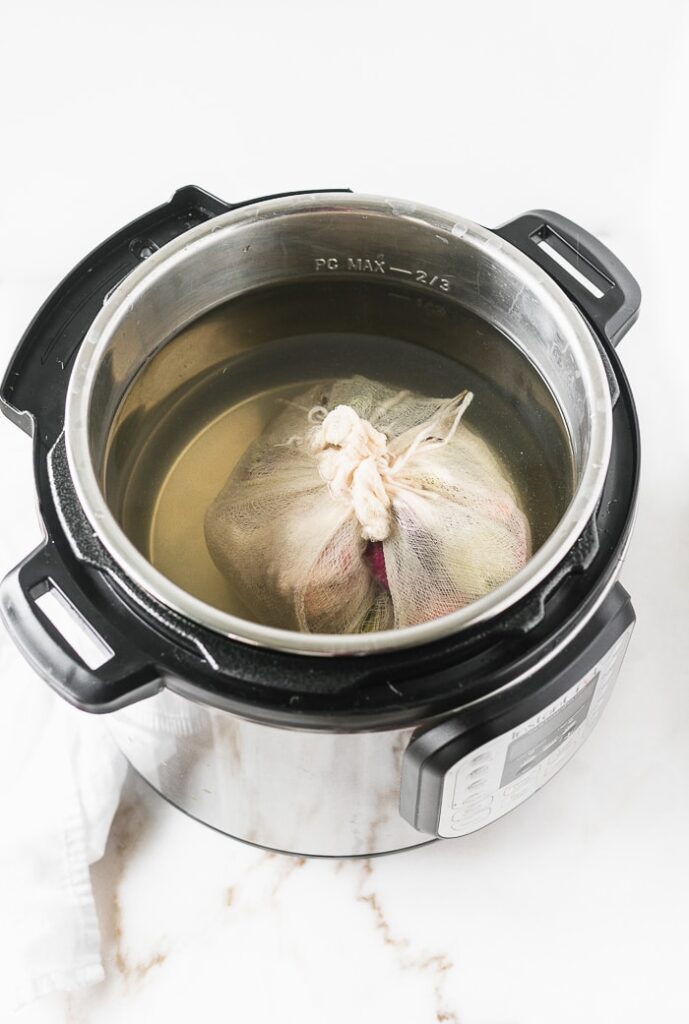
- Add scraps to the pot of the Instant Pot with 1-2 tablespoon of apple cider vinegar or lemon juice. Fill with water to the max line (⅔ full).
- Close and lock the lid and seal the vent. Pressure cook on medium (or low if your pressure cooker has only 2 settings) for two to three hours. Release pressure naturally.
- At the end of cooking, skim any fat or foam from the top, strain (if you didn't use a cheesecloth bundle) and discard the solids, and let the broth cool slightly before handling and storing according to preference.
Tips For Making The Best Bone Broth with Kitchen Scraps
- Roast bones in the oven before using them for the best flavor, especially if they are raw.
- If you're using vegetable scraps, it can be hard to measure, but use about the equivalent of an onion, a large carrot, and a stalk of celery, plus whatever other aromatics or veggies you want with roughly 3 quarts of water, but don't worry about measurements too much.
- Don't use too many skins from onions or garlic, which will give the broth a bitter flavor.
- You can use only beef bones, only chicken, or a combination of anything you have. It's really up to you!
- Make sure veggie scraps are rinsed well to prevent your broth from tasting like dirt.
- To make it easier to collect kitchen scraps, keep a bag in the freezer for vegetable ends and herbs and one for bones so that once you collect enough, you're ready to make broth. I also keep a separate one for cheese rinds. That way you can store the ends as you use the vegetables without having to worry about them going bad before you get a chance to make the broth.
- If you prefer to use whole veggies instead of kitchen scraps, that's fine too!
- This recipe doesn't include salt. I prefer to add salt to the recipe I'm using broth for in the cooking process. If you want to add salt before storing your broth, do so at the end of cooking.
Broth Storage
Once you make your broth, if you aren't using all of it right away you'll need to store it. There are several storage options, so choose the one that works best for you. You'll want to cool and store your broth within 2 hours of removing it from the heat for safety reasons.
- Refrigerated in jars - this is what I prefer to do. I pour the cooled broth into glass mason jars and store in the refrigerator for a week or so.
- In the freezer - Pour stock into ice cube trays or other freezer containers. Once frozen, you can pop the cubes out of the trays (if using) and into a storage bag in the freezer for up to 6 months.
- Reduced in the freezer - Since freezer space can be hard to come by, reducing stock into concentrated cubes cuts down on how much room they take up in your freezer. To reduce the broth, bring it back to a boil after you have removed all of the solids. Let it cook down to about half the volume, then pour into ice cube trays and freeze. Make sure your label them as concentrated so that you remember to add water (equal to the amount of concentrated broth) once you're ready to use it.
- Canning - This is a convenient way to store broth without it having to be refrigerated or frozen, thus freeing up your fridge and freezer space. Since broth is made with meat, it will need to be pressure canned. Follow these directions to pressure can your broth in jars.
Recipes for Using Homemade Broth
Now that you have nutritious, delicious homemade broth, use it in one of these recipes!
- Easy French Onion Soup
- Slow Cooker Rosemary Red Wine Beef Stew
- Classic Chicken Noodle Soup
- Healthy Chicken Pot Pie Soup
- Turkey Wild Rice Soup
- French Onion Chicken
- Slow Cooker Chicken Tortilla Soup
- Healthy Mushroom Risotto
If you made this recipe, please leave a star rating in the comments!
PrintBone Broth Using Kitchen Scraps - 3 Ways
Homemade broth is not only easy to make, but it's healthier and much less expensive than store-bought. Learn how to make bone broth from vegetable scraps and bones using the stove, Instant Pot, or slow cooker!
- Prep Time: 10 minutes
- Cook Time: 8 hours
- Total Time: 9 hours
- Yield: about 3 quarts 1x
- Category: soup
- Method: slow cooker, stovetop, instant pot
- Cuisine: American
Ingredients
- Chicken, beef, or other bones (omit for vegetable broth)
- Rinsed vegetable scraps (roughly the equivalent of 1 large carrot, 1 onion, and 1 stalk of celery)
- Aromatics such as 1-2 cloves of smashed garlic, a pinch of whole peppercorns, 1 bay leaf, stems from fresh herbs (optional)
- Piece of hard cheese rind, such as parmesan (optional)
- 1-2 tablespoon of acid, such as apple cider vinegar or lemon juice
- Filtered water (roughly 3 quarts, or enough to fill your slow cooker insert or the Instant Pot to the max line.)
Instructions
For The Stovetop:
- Place bones in a baking dish and roast at 400°F for 30-60 minutes. Remove from the oven.
- Wrap bones, vegetable scraps, aromatics, and cheese rind in a cheesecloth bundle tied with kitchen twine (optional). Alternately, place everything directly into the pot.
- Add apple cider vinegar or lemon juice.
Fill the pot with roughly 3 quarts of water, or enough to fill the pot, leaving some wiggle room at the top. - Bring the pot to a boil. Reduce heat to lowest setting, cover, and gently simmer for at least 8 hours and up to 24 hours.
- Skim any fat or foam from the top, strain and/or discard the solids, and cool broth before storing.
For The Slow Cooker:
- Place bones in a baking dish and roast at 400°F for 30-60 minutes. Remove from the oven.
- Wrap bones, vegetable scraps, aromatics, and cheese rind in a cheesecloth bundle tied with kitchen twine (optional). Alternately, place everything directly into the slow cooker insert.
- Add apple cider vinegar or lemon juice.
- Add enough water to fill the slow cooker insert.
- Close the lid and cook on high setting until it comes to a boil. Reduce heat to low and simmer gently 12-48 hours. If your low setting doesn't simmer the broth at all, keep the heat on the high setting.
- Skim any fat or foam from the top, strain and/or discard the solids, and cool broth before storing.
For The Instant Pot or Pressure Cooker:
- Place bones in a baking dish and roast at 400°F for 30-60 minutes. Remove from the oven.
- Wrap bones, vegetable scraps, aromatics, and cheese rind in a cheesecloth bundle tied with kitchen twine (optional). Alternately, place everything directly into the pot.
- Add apple cider vinegar or lemon juice.
- Add water to the maximum fill line (⅔ full).
- Close and lock the lid. Seal the vent.
- Pressure cook on medium (or low if your cooker doesn't have a medium setting) for 2-3 hours. Release the pressure naturally before removing the lid.
- Skim any fat or foam from the top, strain and/or discard the solids, and cool broth before storing.
Notes
- See 'Broth Storage' section above for methods of storing finished broth.
- This recipe doesn't include salt. I prefer to add salt to the recipe I'm using broth for in the cooking process. If you want to add salt before storing your broth, do so at the end of cooking.
- If you're using vegetable scraps, it can be hard to measure, but use about the equivalent of an onion, a large carrot, and a stalk of celery, plus whatever other aromatics or veggies you want with roughly 3 quarts of water, but don't worry about measurements too much.
- Don't use too many skins from onions or garlic, which will give the broth a bitter flavor.
- You can use only beef bones, only chicken, or a combination of anything you have. It's really up to you!
- Make sure veggie scraps are rinsed well to prevent your broth from tasting like dirt.
- To make it easier to collect kitchen scraps, keep a bag in the freezer for vegetable ends and herbs and one for bones so that once you collect enough, you're ready to make broth. I also keep a separate one for cheese rinds. That way you can store the ends as you use the vegetables without having to worry about them going bad before you get a chance to make the broth.
- If you prefer to use whole veggies instead of kitchen scraps, that's fine too!
Keywords: how to make bone broth, how to make broth using kitchen scraps, slow cooker broth, instant pot broth


Zoe jones says
Can you mix chicken bones pork bones and steak bones in the same broth?
Kaleigh says
Yes, you can! It will just have a mixed flavor. I like to have either a distinct beef flavor or chicken flavor depending on what I'm cooking.
shawsimpleswaps says
This post is so #Onfleek! Perfect timing with Earth Day around the corner. I usually keep most of my used ends and then end up throwing them out because they rot, so next time the slow cooker is coming out. You are one smart cookie!
Kaleigh M says
I keep all of mine in the freezer so I can use them when I'm ready!
nutritioulicious says
Love your comment about dr. oz health claims, lol! And yes, cheese rind adds so much flavor to broths! Great recipe!
Kaleigh M says
Thanks! It's been coming in so handy having it around!
Melanie says
Homemade broth is the best! I have a parmesan rind that I need to use next time! Great post!
Kaleigh M says
Thanks, Melanie! Yes, you'll definitely have to add it in next time! 🙂