There are several great chili canning recipes out there - you may even be able to preserve your favorite chili recipe. Learning the process of canning chili is a worthwhile endeavor and will help you to have a quick, homemade meal in just a few minutes.
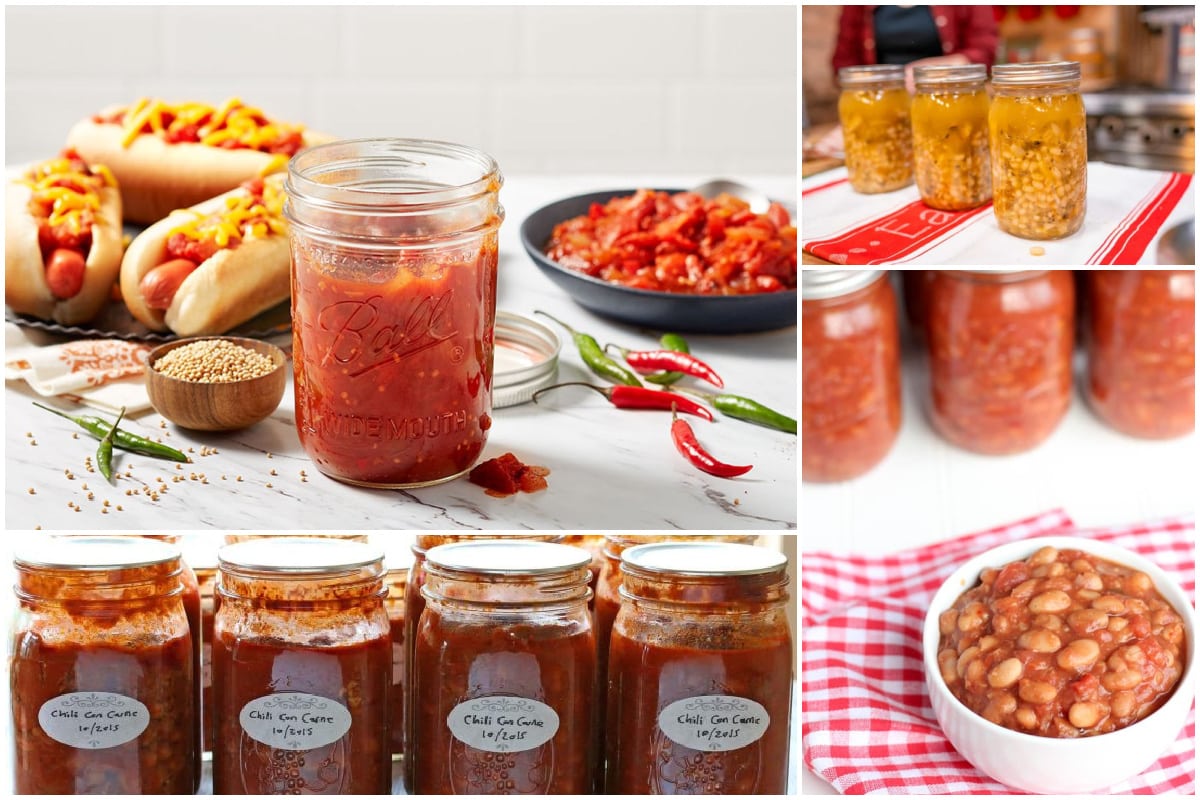
Canning your own chili has never been easier, you don’t even need a pressure canner to do it. Because chili is a low acidic food, it can be safely canned by simply using the water bath method. Whether you prefer yours with or without beans, spicy or mild, meaty or vegetarian there are a lot of great chili canning recipes available.
Types of Chili for Canning
- Texas Chili (no beans)
- Chili con carne
- Vegetarian Chili
- Chili with beans
- Cincinnati-style chili
- Chile Verde
- White chili
Best Beans for Chili Canning Recipes
- Pinto beans
- Kidney beans (red or white)
- Black beans
- Great Northern beans
- Navy beans
How to Can Chili Step by Step Guide
Canning your own chili is an excellent way to preserve a quick and tasty meal. Whether you use chili as an accompaniment to hot dogs or nachos, or if you will be serving a big bowl of it, there are several different recipes out there to choose from.
When making canned chili, you will want to decide what kind of chili you want and gather all of your ingredients together. Having everything ready to go will help the process go smoothly.
Be sure and follow a proven recipe for canning chili and also follow the instructions for the canning equipment you will be using. While some chili canning recipes allow for the water bath method, this step by step guide is for use with a pressure canner.
Step 1. Gather the equipment
Having all of your equipment and ingredients ready to go will help make this chili canning process go smoothly. Canning equipment will include: jars, lids, rings, canning tongs, pressure canner, canning funnel (or ladle), cooling rack, and clean kitchen towels.
Step 2. Wash all of your canning jars and lids
Having clean and sterile equipment is a must when canning anything. To sterilize your jars and lids, wash them with hot soapy water and then place them in a pot of boiling water for several minutes. Once they are done, carefully remove them with tongs and allow them to air dry on a clean kitchen towel.
Step 3. Prep and cook your chili ingredients
If you are using beans in your chili canning recipe, you will need to either soak them in water the night before, or you can also pour boiling water over them and allow to soak for 2 hours. Chop any vegetables you are using and get your spices out.
Cook your beans separately, but do not cook them all the way through. Beans should still be firm and you will want to reserve the cooking liquid to add to your chili.
Once your chili is cooked, add your beans, and the reserved bean liquid. Taste and adjust your seasoning as needed. Once it is to your liking, you will be ready to fill your jars.
Step 4. Fill your jars with the chili
Pour your hot chili into the hot jars, leaving 1 inch of headspace. If you have a canning funnel (one with a wide mouth), use it to help lessen the mess. If you don’t have a funnel, use a smaller ladle to help fill the jars.
Step 5. Process the jars in the pressure canner
Once the jars are filled with your chili, wipe down the rim with a clean towel and place the lid and ring on each jar. Place the jars into your pressure canner with 2 inches of simmering water in the bottom.
Follow the manufacturer's instructions for your particular pressure canner for processing directions and times.
Step 6. Allow the jars to cool
Once your jars are processed, remove the steam vent on your pressure canner and wait 10 minutes before removing your jars to cool. Place jars either on a cooling rack or clean kitchen towels on a flat surface. Let the jars cool completely for at least 12 hours before touching them.
Step 7. Label and store your canned chili
Once your jars have fully cooled, remove the rings to test the seals. Replace the rings and label each jar with the contents and date. Store in a cool, dark place.
10 Chili Canning Recipes
1. Canned Chili Recipe
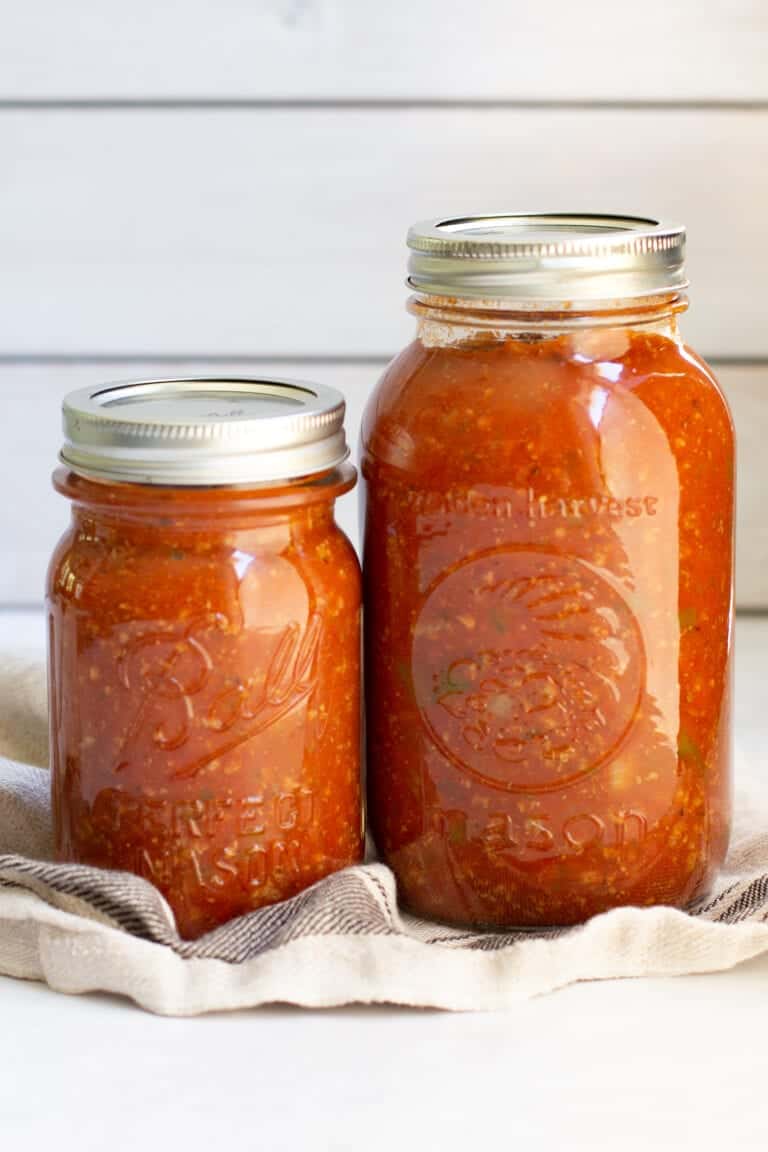
This traditional chili recipe from Intentional Hospitality is a great place to start. The chili recipe provided does not have beans, and is focused on a deep flavored and meaty chili. You can adjust your spice level either before you can the chili or before you eat it.
2. Chili beans
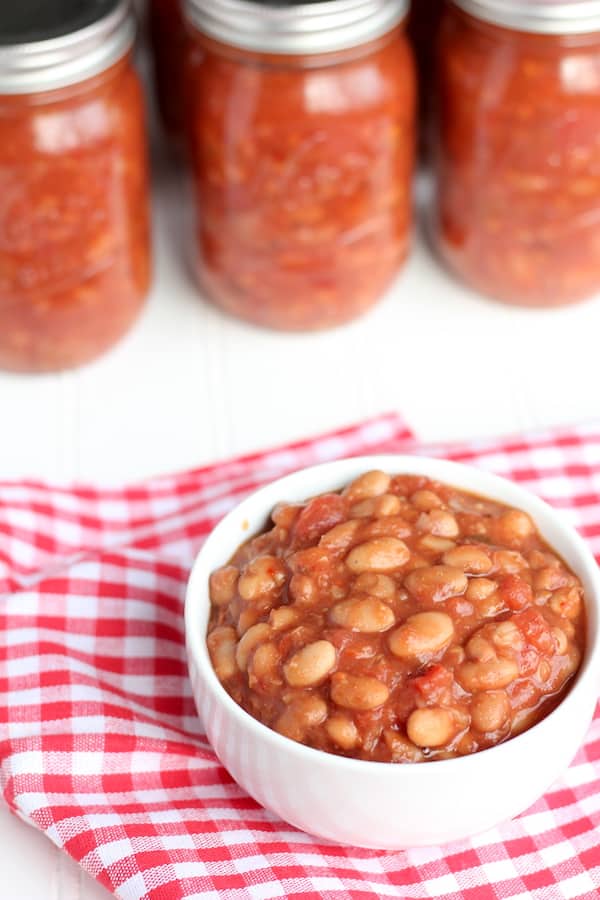
The Frugal Farm Wife offers a recipe for chili beans, which is essentially a meatless chili. The flavors are bold and by using beef broth, you still are getting a robust taste. The recipe is a good one to make because it allows for meat to be added when reheating it, making it versatile.
3. White bean chicken chili
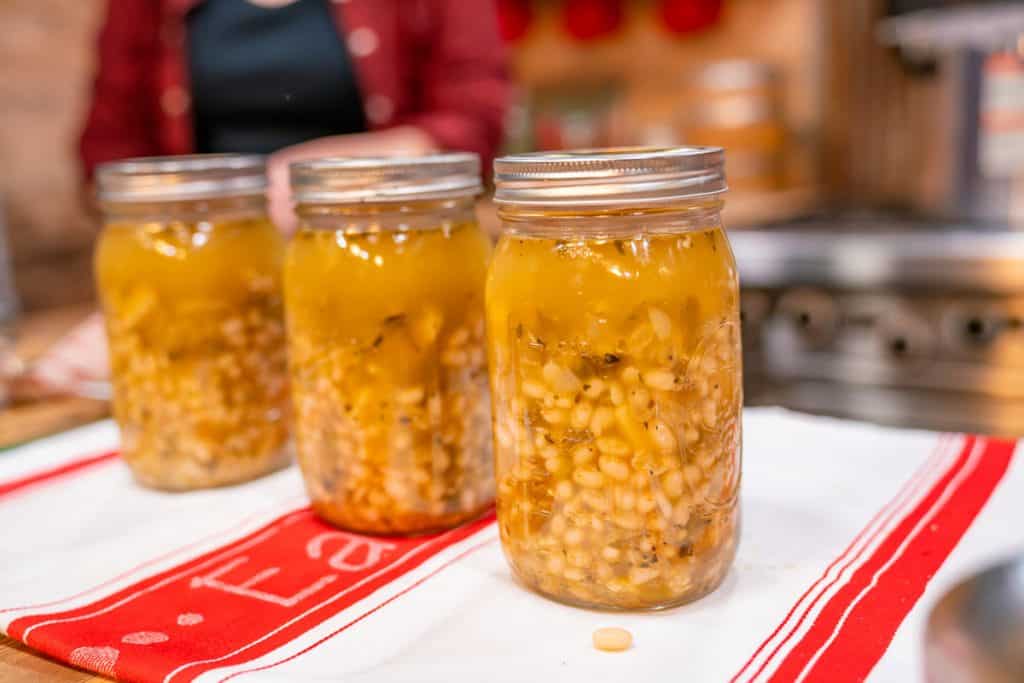
With all the varieties of chili available, this white bean chicken chili from Homesteading Family is a good one to have in your pantry. Chicken is a lean and healthy protein option for chili and the green chiles provide a nice balance of spice and flavor.
4. Chile con Carne
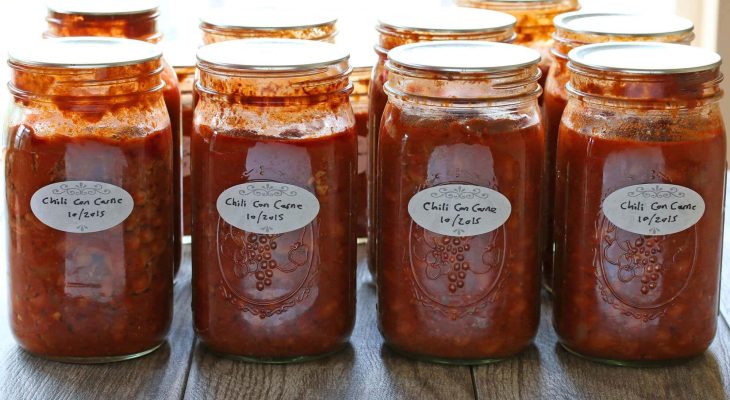
Chili with meat, or Chile con carne is a spicy version of chili that is well loved in both Mexican and Texan cooking. This hearty and spicy Chile con Carne from SB Canning is a great recipe to try. Using both fresh and dried chilis makes for a tasty chili that can be enjoyed any time of the year.
5. Grandma's chili sauce
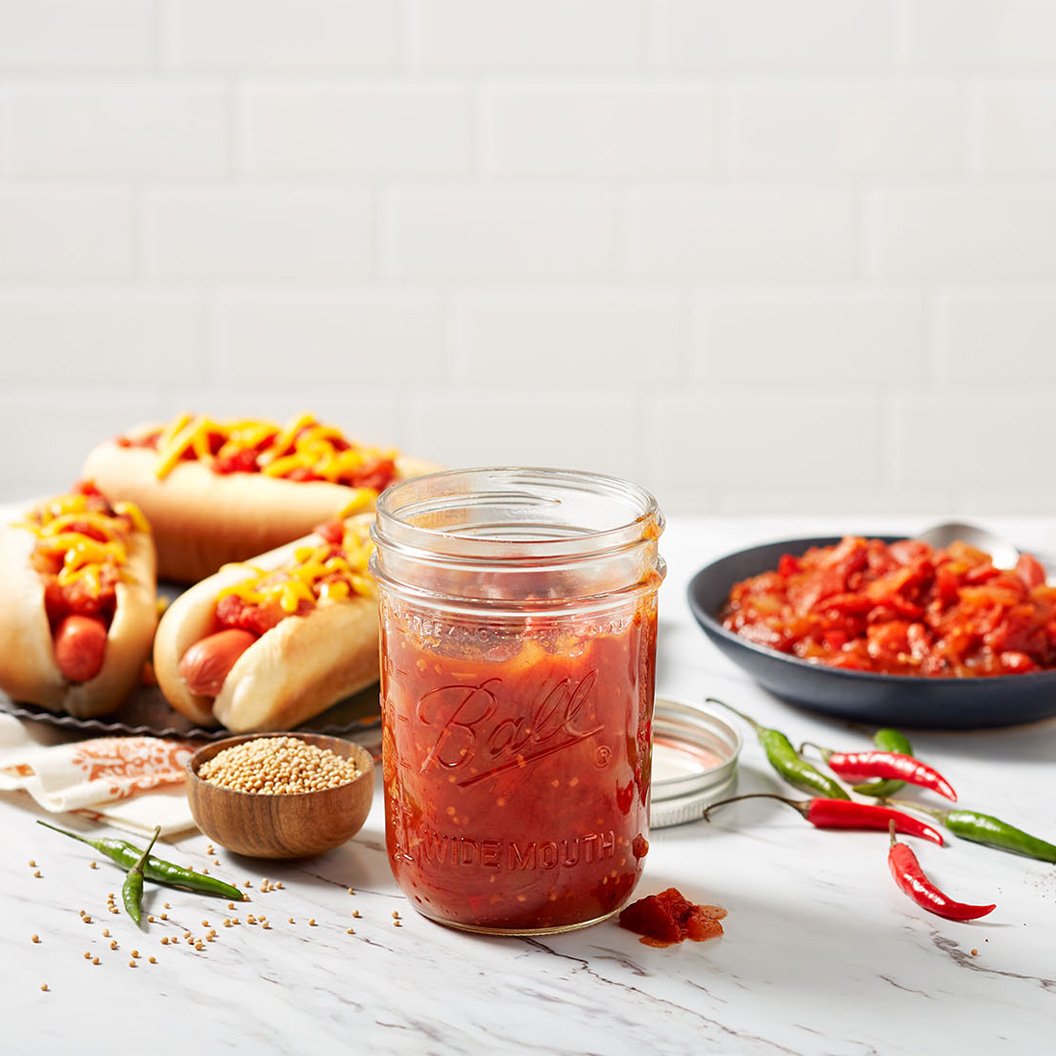
This chili sauce recipe from Ball Mason Jars is a great one for topping hotdogs, nachos, or any other garnish. It is not spicy, but still provides plenty of flavor. For those wanting more spice, you can always add some hot sauce when reheating this delicious chili sauce.
6. Black bean chili
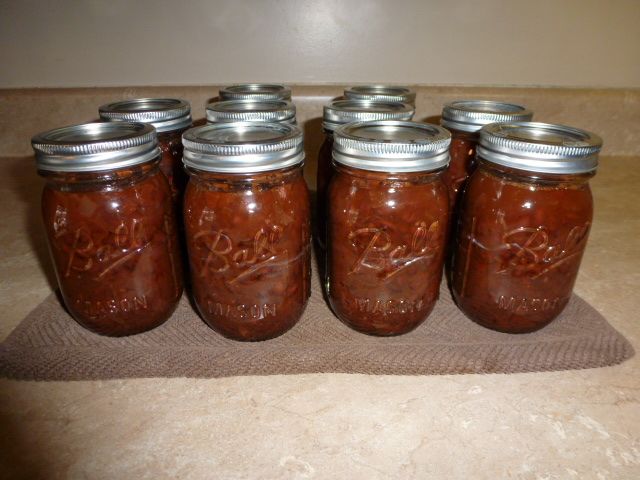
Black bean chili provides a different flavor experience than traditional red chili. Typically more smoky flavored than spicy, black bean chili makes for a great, high protein meal. This recipe from Mike and Lisa World is a good basic recipe with easy to follow instructions.
7. Home canning chili
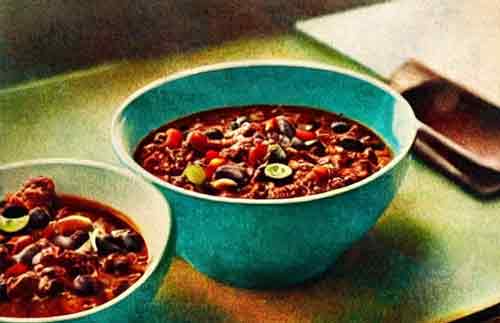
Canning your own chili has never been easier with this standard recipe from Cooks.com. It offers great ideas for substituting ingredients and steps for using either fresh or canned tomatoes.
8. Pork chili verde
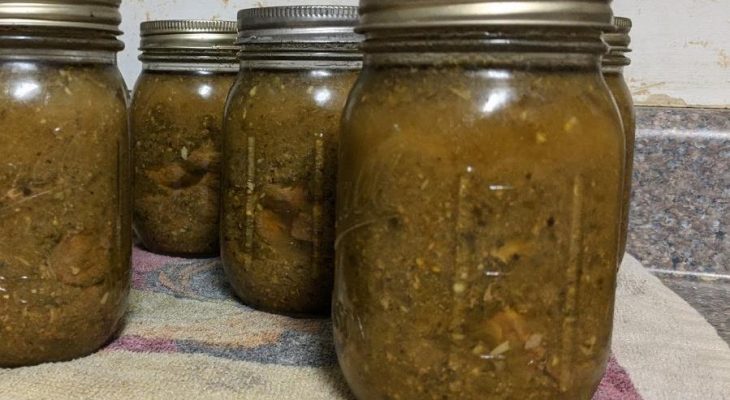
SB Canning provides a flavorful recipe for pork chili verde. Verde refers to the tomatillo salsa base for this hearty chili. The tart tomatillos are balanced well with the heat from the jalapeno peppers (or serrano if you really like things spicy). Pork is a great protein to absorb all the flavors of this hearty chili recipe.
9. Chili
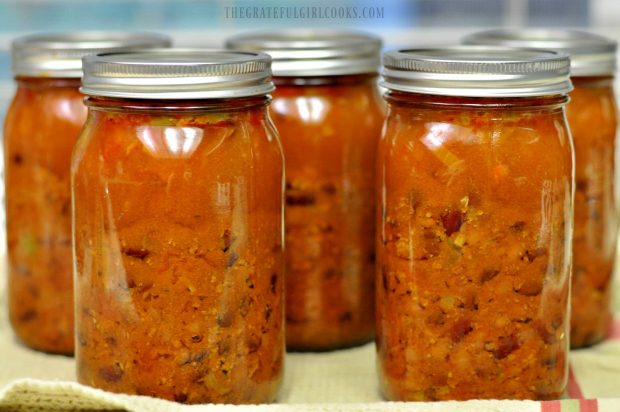
This how-to guide from The Grateful Girl Cooks is a great starting point for chili canning recipes. The variety of beans and spices used in addition to the ground meat makes for a hearty and flavorful chili that is perfect anytime of the year. The steps are written well and provide a lot of important information, making this a great option for those just learning to can their own food.
10. Hearty chili
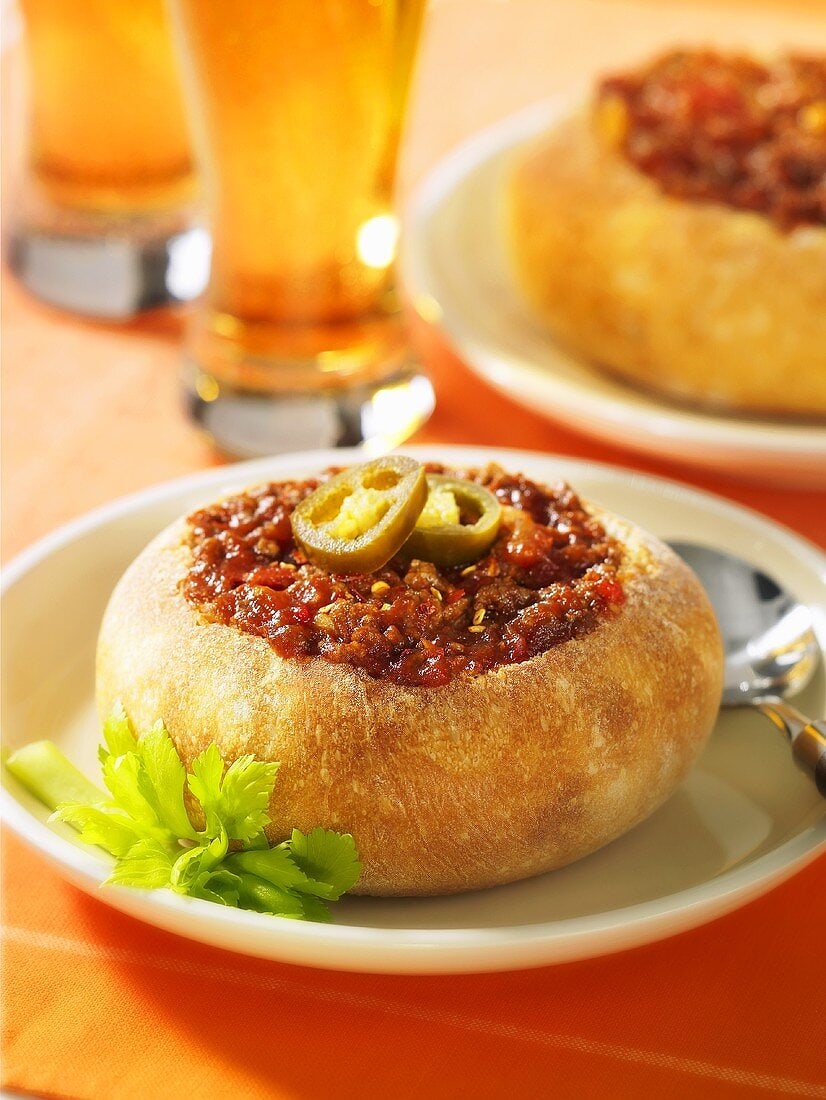
For a chunky and hearty chili, try this recipe from Bernardin which uses cubed up beef instead of ground. Cubing your beef roast ensures a deeper flavor and heartier meal. This recipe is loaded with delicious spices and ingredients. For those that may be missing beans, simply add a can of your favorite bean when reheating this hearty chili.
Chili Canning Tips
- Choose a chili canning recipe that is proven for the method of canning you will be doing - either with a pressure canner or with the water bath method.
- Be sure and properly clean and sanitize your jars, lids, rings, and other equipment.
- Canning recipes allow for some deviations with spices, but be sure if you are adding an ingredient that is safe for canning.
- Always leave a 1 inch headspace when filling jars.
- If you need to clean the outside of the jar after processing, simply use a damp kitchen towel or a towel with distilled vinegar.
How to Store Canned Chili Recipes
To store canned chili recipes properly, they need to be kept in a cool, dark space. Be sure and write the date on the can before storing.
How Long Do Canned Chili Recipes Last?
Canned chili recipes can last up to 5 years, if stored properly. As with most canned goods, canned chili is usually fine to eat beyond the expiration date, however, the taste and quality may not be as good. Generally speaking, try to use the canned chili within a year of the original expiration date.


Mark Boyd says
Both comments are correct.
only high acid food can be water bath canned.
And all chili with meat or beans or both should be pressure canned.
Jenhensu says
I thought High acidic foods are water bathed low acidic are pressure canned. Right? Is this a typo?
Kim says
ALL chili recipes must be pressure canned