Apple canning recipes provide a way to preserve the flavor of apples to enjoy year-round. Fall is the start of warm, rich, and hearty flavors, and new produce is in season. Apples in particular, are making their annual debut for all sorts of sweet and savory cooking.
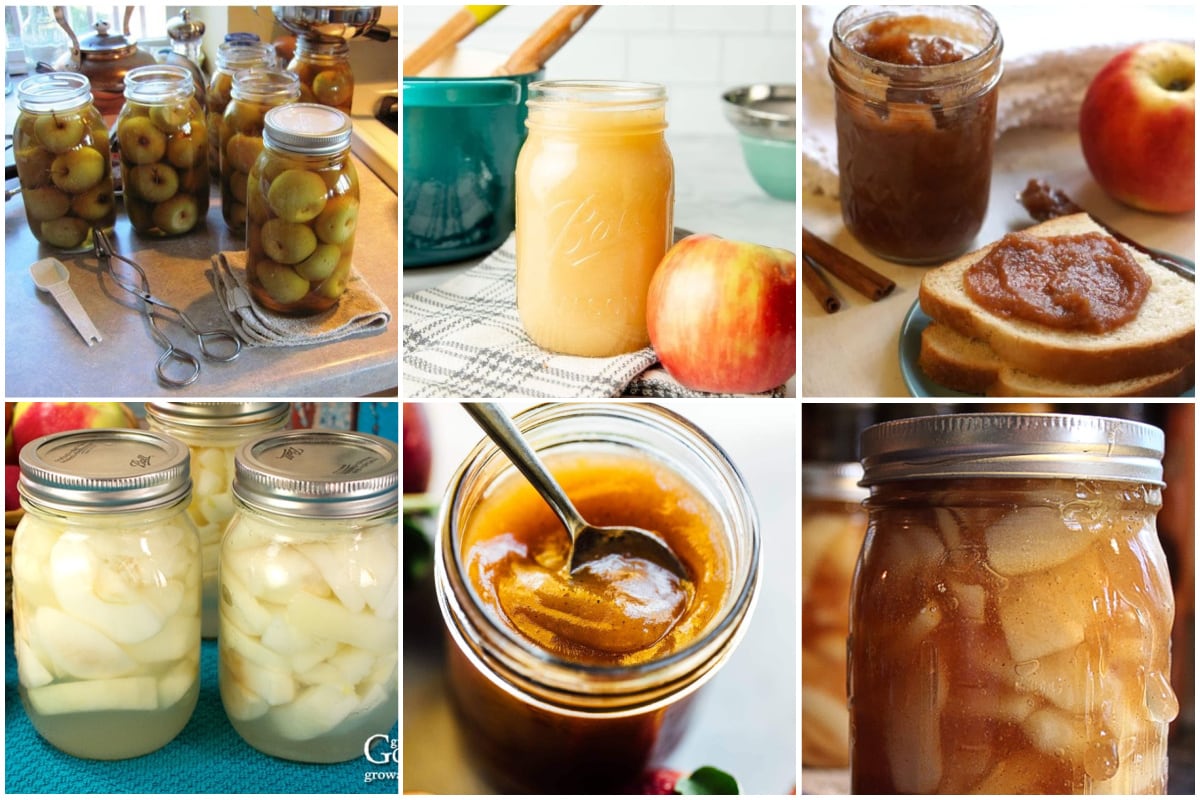
Having the ability to grab a jar or can of your own apple filling will make baking and cooking in the coming months a breeze. Canning your own apples make for a fun activity the whole family can enjoy and is easy to do.
Best Types of Apples For Canning
Depending on what you will be using your canned apples for will help determine what kind of apples you will want to use.
It is a good idea to start by choosing a crisper apple so you don’t end up with mushy apples. From there, you can decide if you want a sweet or tart apple.
- Granny Smith
- Honeycrisp
- Cortland
- Braeburn
- Fuji
- Jonagold
- Gala
How to Can Apples Step-by-Step Guide
When canning your own apples, it is best to choose firm apples that are not bruised or soft. Be sure and have all of your supplies ready to go to make the process easier.
Supplies for Apple Canning
- Pint-sized glass canning jars (these can be used, just be sure they are free from chips or other defects)
- Brand new canning lids
- Canning bands (these can be used)
- Water bath canner with canning rack
- Jar lifter, canning ladle, and funnel
- Saucepot
- Prep bowl
- Kitchen towels
- Utensils: slotted spoon, tongs, peeler, and knife
- Cutting board
Apple Canning Instructions
Step 1
Prepare all of your equipment and supplies by clearing a workspace on your kitchen counter and gathering everything together. You will need to wash all of your jars, lids, and bands in hot soapy water.
Allow to air dry until ready for use.
Step 2
Prepare the water bath canner by placing the rack in the water bath canner. Then, set your jars on the rack and fill them with water to cover them.
If you want to add your lids to the water, you may do so but it is not necessary. Heat the water to a simmer and continue to simmer for 10 minutes. Keep the jars hot until ready to use them.
Step 3
Make your syrup for the apples. You may make a heavy or light syrup, with either granulated sugar or honey.
For a basic sugar syrup, combine 5 ¼ cups of water with 2 ¼ cups of granulated sugar in a saucepan. Bring to a boil until the sugar is dissolved. Keep the syrup warm until ready to use.
Step 4
Prepare a lemon water bath to prevent the apples from browning. To do this, simply pour 1 gallon of cool water into a large bowl and combine it with the juice of 1 lemon.
Step 5
Wash, peel, core, and cut the apples. You can cut the apples however you desire: sliced, diced, in chunks, or just quartered.
As you finish cutting the apples, place them in the lemon water bath.
Step 6
Once all of the apples have been prepared, drain them from the lemon water bath and place them in the pan with the syrup. Bring the mixture to a boil, cover the pan, and boil for 5 minutes.
This will partially cook the apples.
Step 7
It’s time to fill the jars. With your tongs, remove one jar and carefully pour out the hot water into the sink. Set the warm jar onto a clean kitchen towel.
Using the tongs, fill the jar with the cooked apples. Then, place the funnel onto the jar and carefully ladle enough of the syrup to fully cover the apples.
You’ll need to make sure the apples are fully submerged in the liquid while also leaving at least ½ of an inch of headspace. Wipe the rim of the jar with a clean, damp towel, place the lid on the top, and screw on the band until just tight.
Gently set the jar back on the rack in the canner and repeat the process with the remaining jars.
Step 8
Once all of the jars are filled and back in the canner, fill them with more water to cover 2 inches over the top of the jars. Bring the water to a boil and boil for 20 minutes.
Turn off the water and remove the jars, setting them on kitchen towels.
Step 9
Once the jars have completely cooled, you can test the seals, label them, and store the jars.
10 Apple Canning Recipes
1. Apple Pie Filling
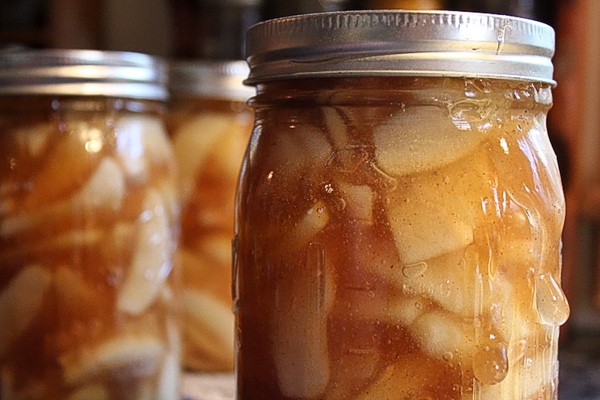
Practicing Self Reliance provides a great canning apple pie filling to make apple pie any time of the year. Knowing you can grab a jar of apple pie filling to add to your favorite crust, makes holiday baking a breeze.
Canned apple pie filling is also delicious served over ice cream, with whipped cream, or eaten straight out of the jar.
2. Applesauce
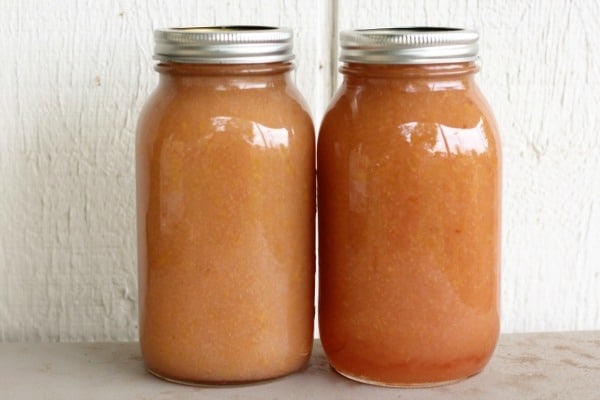
When you have an abundance of apples, consider making your own applesauce to can like this recipe from Creative Homemaking. Make it a family affair by having someone help peel, core, and dice all of those apples.
You can also make this recipe tailored just for you by altering the spices or omitting the sugar.
3. Canned Apples
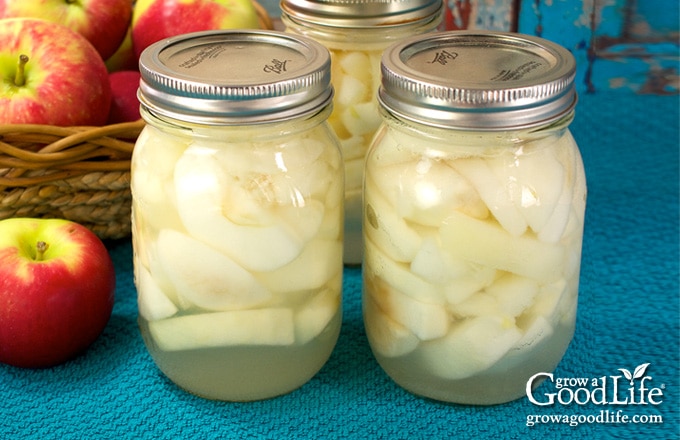
Sometimes having a basic apple canning recipe like this one from Grow a Good Life is a lifesaver. Preserving apples at their peak just as they are will help you make both sweet and savory recipes later in the year.
4. Apple Butter
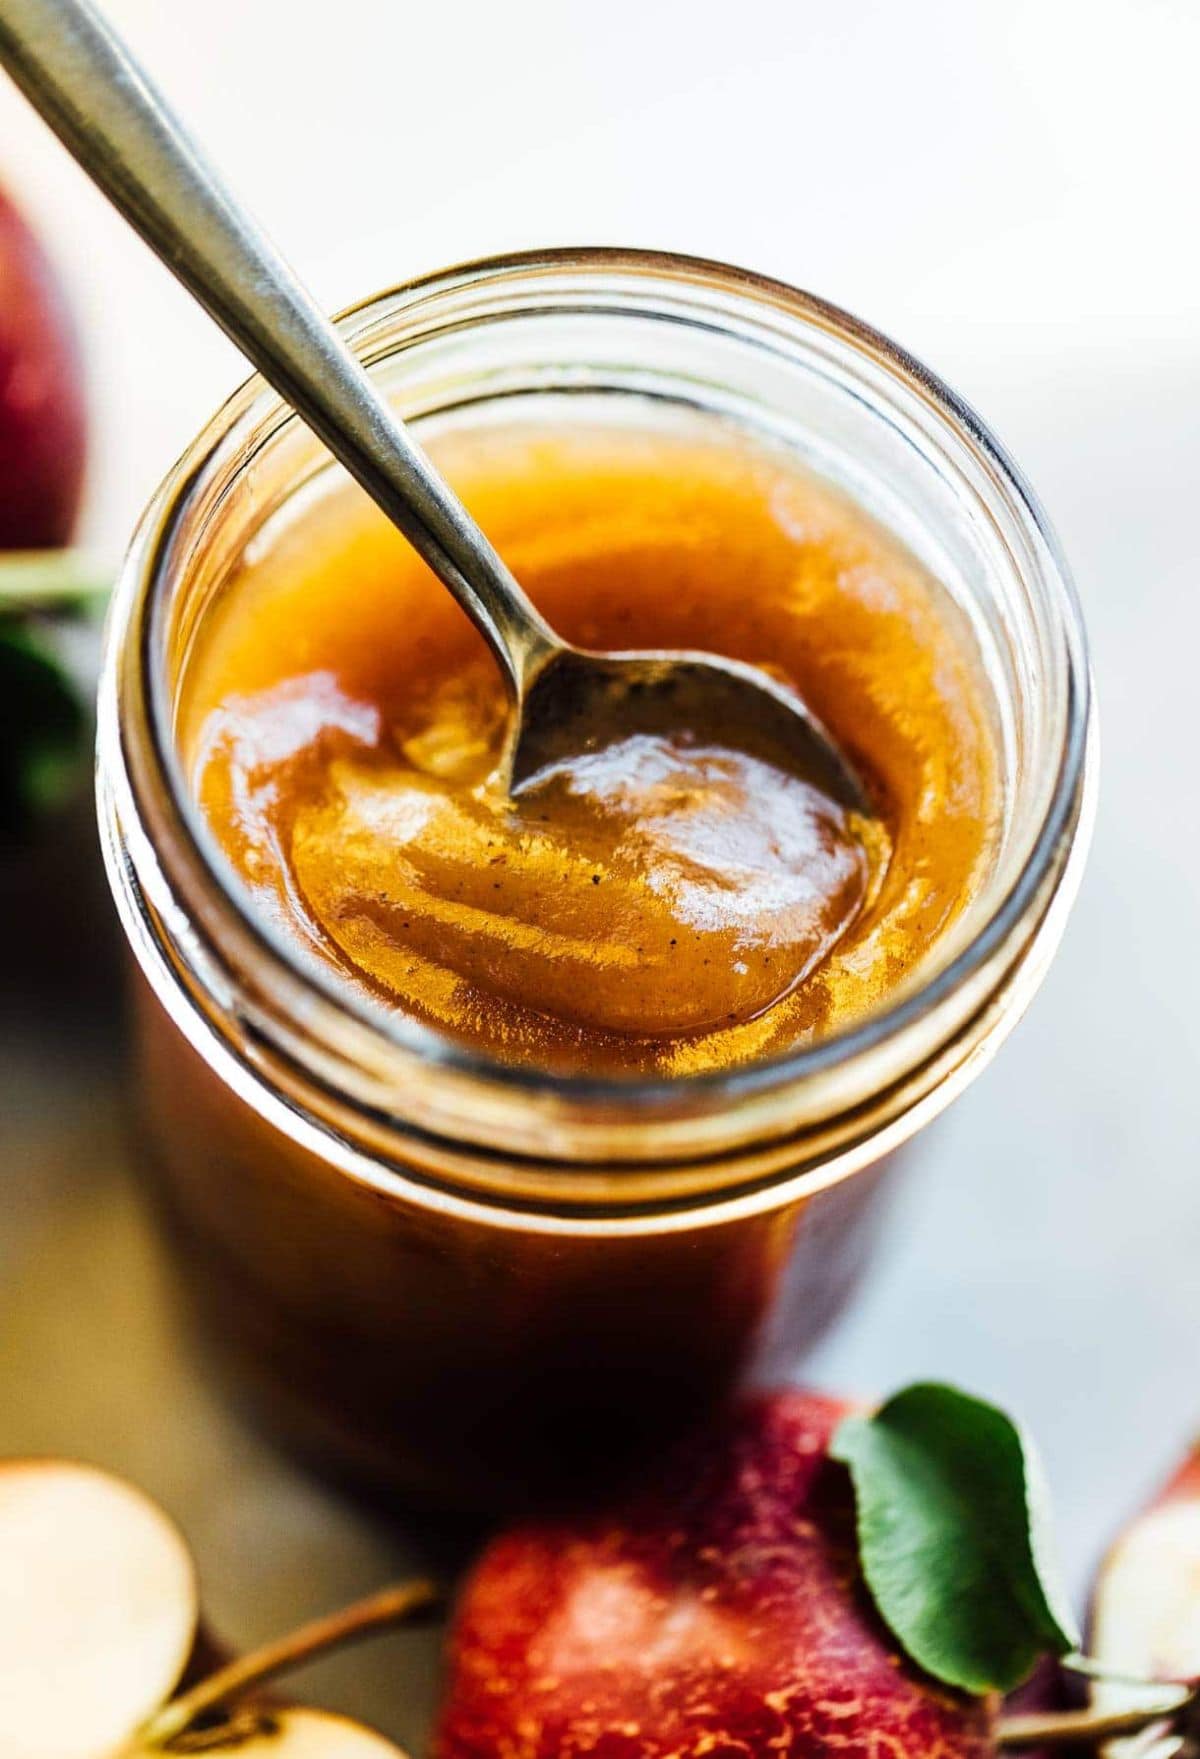
Apple butter is a velvety smooth spread that has a concentrated apple flavor and is usually sweet with notes of cinnamon. This recipe from the Heart Beet Kitchen is worth a try and the warm flavors of cinnamon and cardamom will make this a favorite.
5. Amish Apple Pie Filling
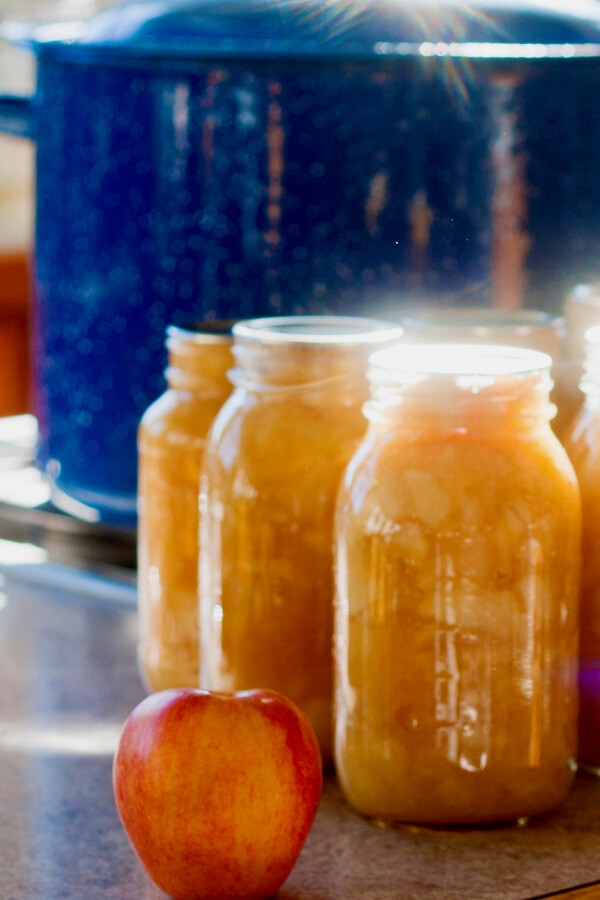
This canning apple pie filling is a delicious choice for those that don’t want a lot of fuss in their apple pie filling. With no added juice, this straightforward and slightly sweetened apple pie filling is perfect to have on hand.
6. Sugar-Free Apple Butter
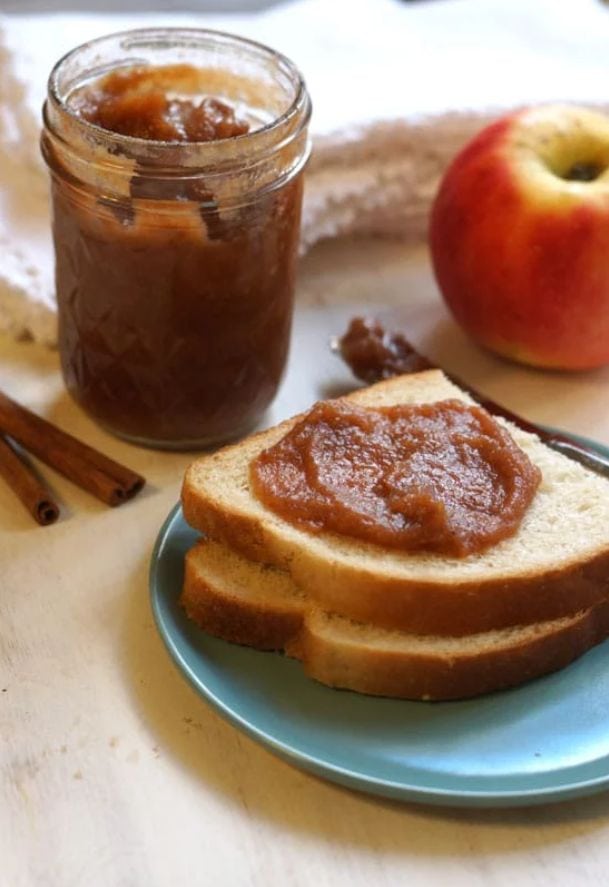
Finding a good canned apple recipe with no sugar is hard to do. This one from Detoxinista is wonderful.
Relying on the natural sweetness from the apples and providing enough spice to the mix ensures a great-tasting product.
7. Canned Applesauce
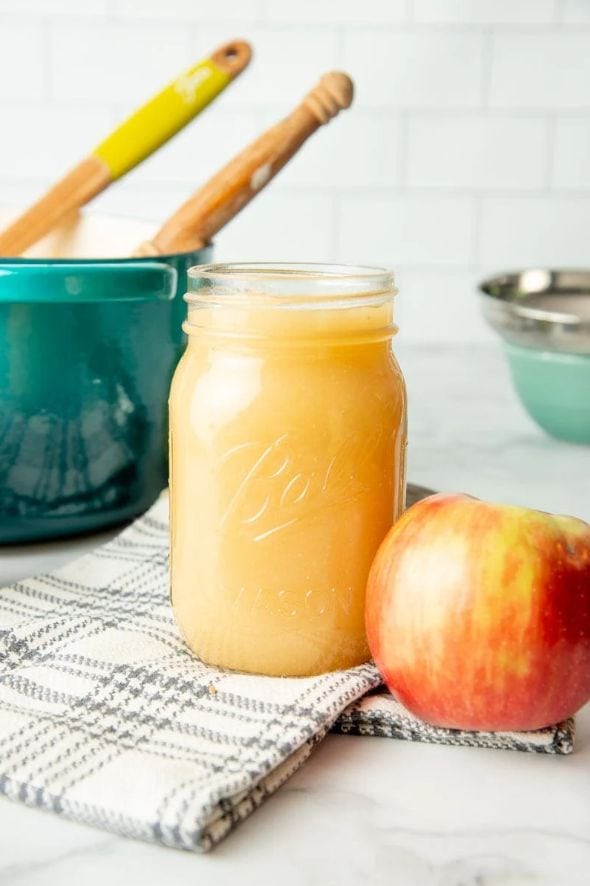
The easy-to-follow applesauce recipe on Wholefully allows for variations and makes a large amount. Having this much applesauce sauce in your pantry will come in handy for a variety of sweet and savory recipes, as well as make for an easy snack.
8. Canned Whole Apples
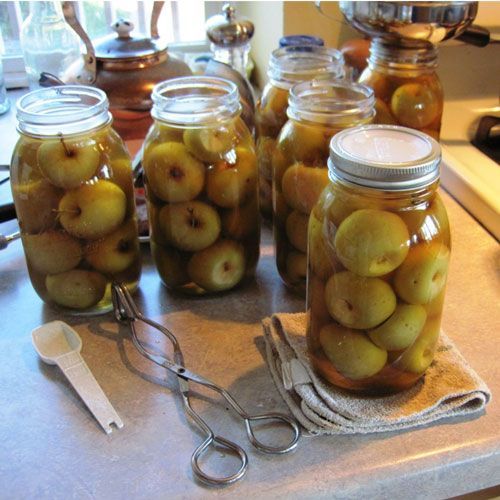
Common Sense Home shows you how to can whole apples. This is a great idea for smaller varieties, such as a crabapple.
Keeping your apples whole allows you to have more options when using them, such as making stuffed apples.
9. Apple Jelly
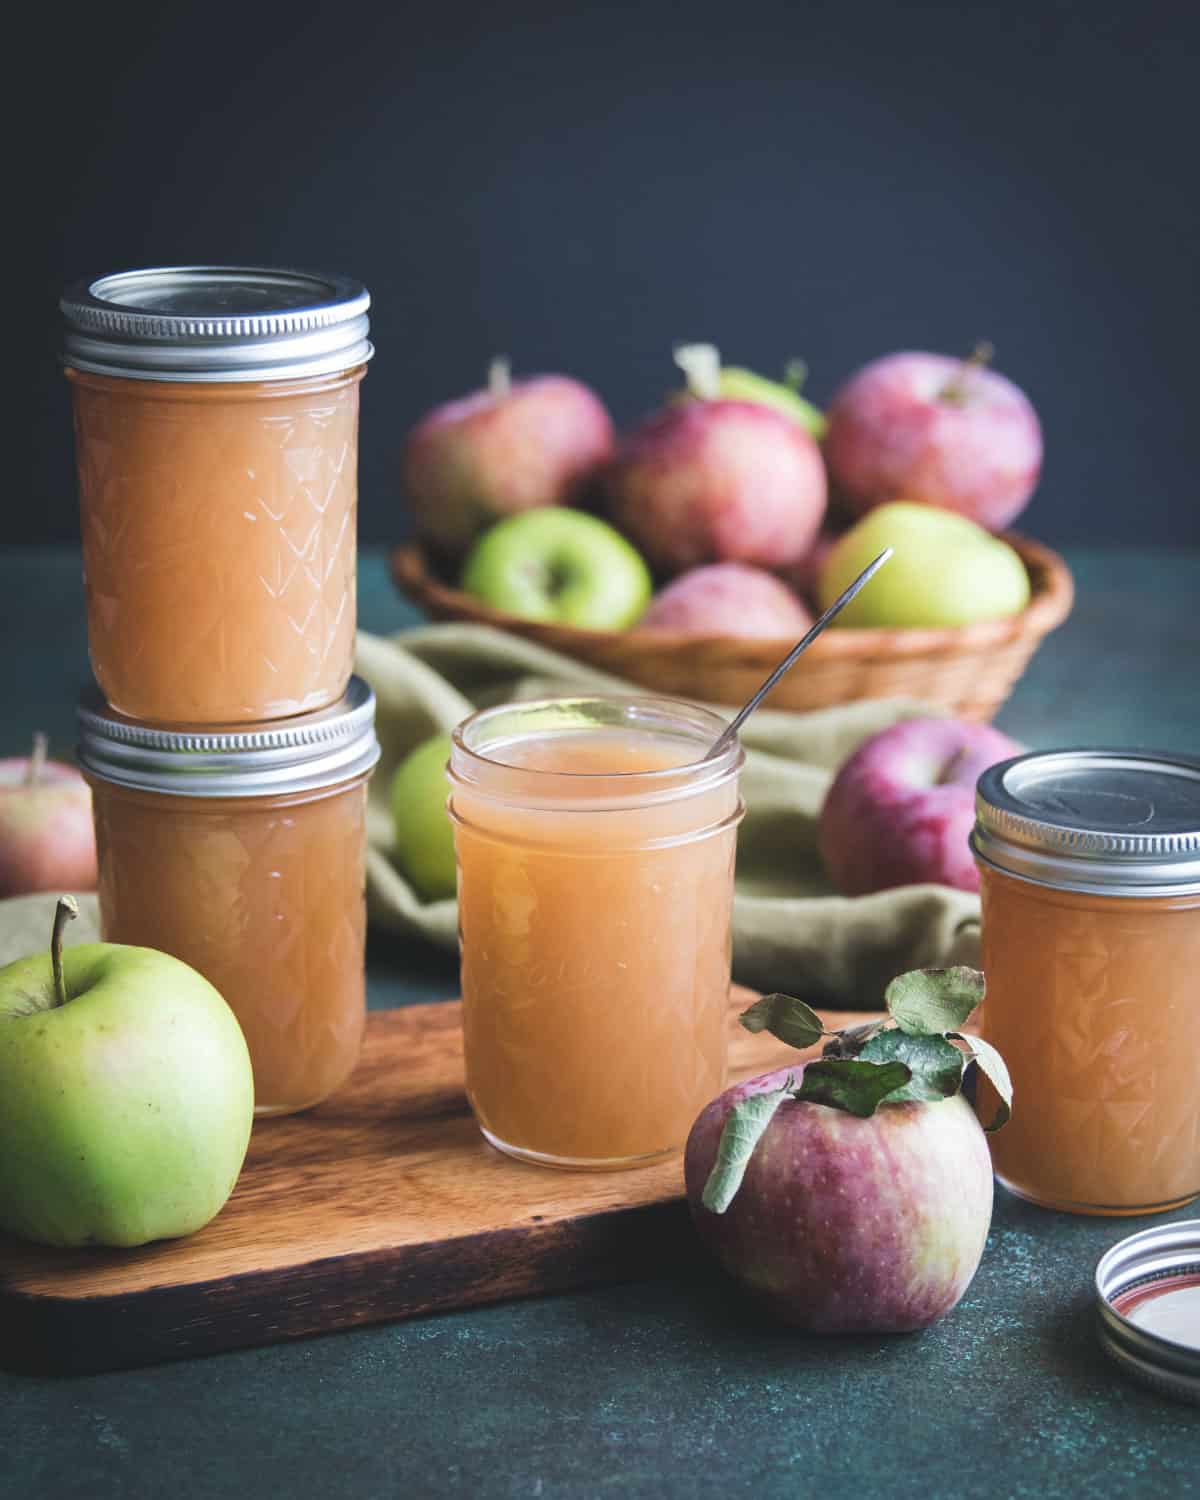
For a great sugar-free or low-sugar option, try the recipe for apple jelly at Grow Forage Cook Ferment. Most jellies have a lot of sugar added but one of the benefits of making your own is being able to control the ingredients.
10. Apple and Caramelized Onion Chutney
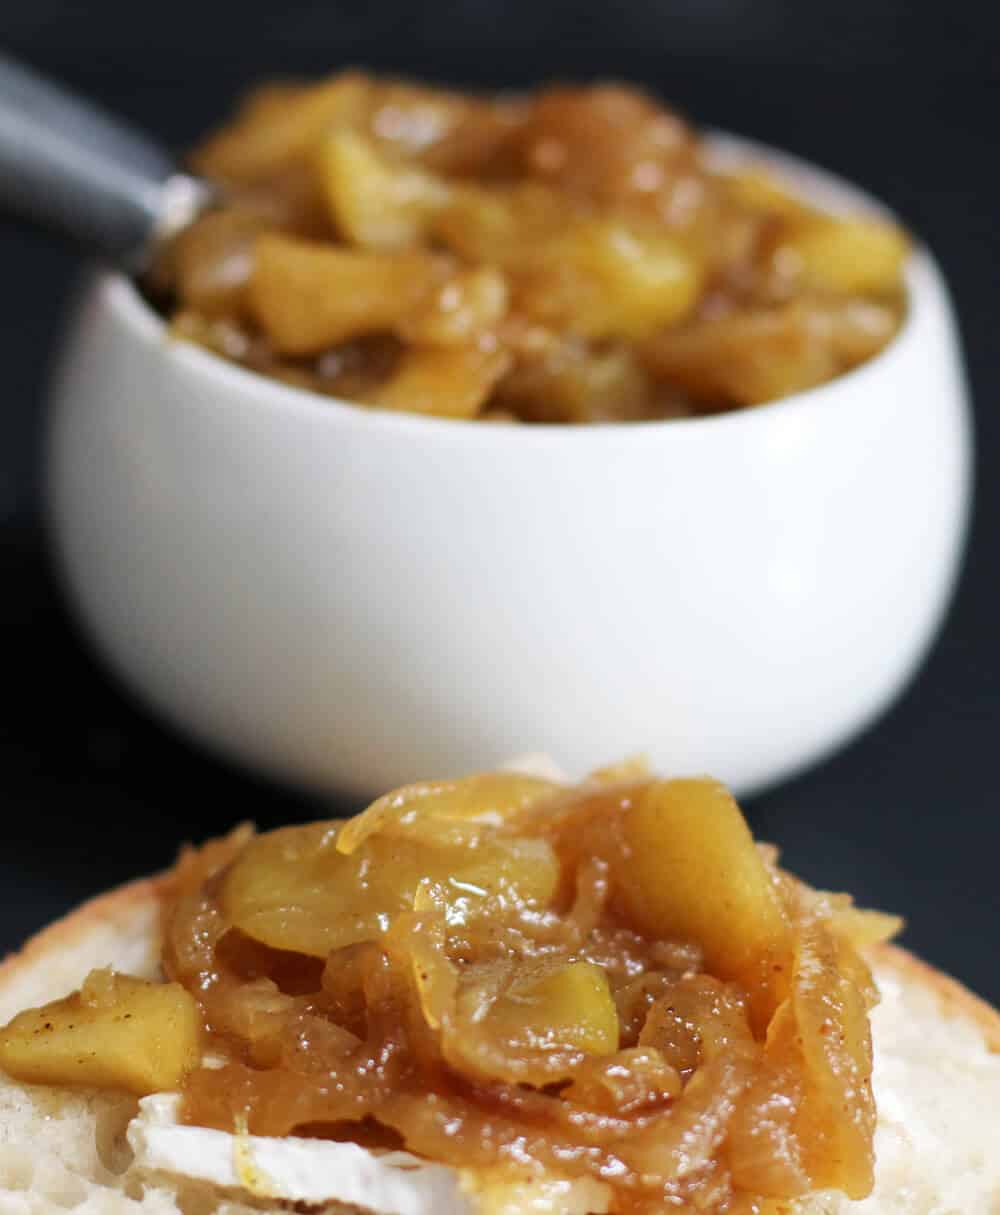
For a great savory option to keep on hand, try this recipe for Apple and Caramelized Onion Chutney. This condiment will instantly improve a snack tray and is deliciously served with pork chops.
How to Store Canned Apple Recipes
One of the benefits of making your own canned apples is that you can have them on hand year-round. Storing your canned apples is easy to do.
Simply make some room in your pantry, cellar, or cabinet. Be sure you write the date on the jar so you remember when you made it.
FAQ
You do not need to peel your apples prior to canning them. It may save you some time during the canning process, but peeling the apples once they are canned isn’t so easy to do and is messy.
Yes, apples should be blanched before canning. Blanching, or partially cooking your apples prior to canning them removes the excess air from the fruit. This helps ensure the apples do not float in the liquid and are easier to pack in the jars.
Canned apples are considered homemade goods that should be used within a year of making.


Leave a Reply